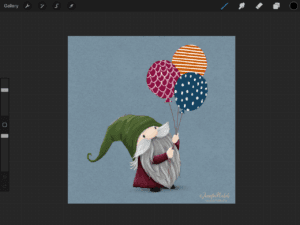
I’ve never had a problem getting glitter everywhere. I think it’s kind of fun finding it in unexpected places months later! I used to warn the parents of my students when a glitter project was coming home.😉🤩✨ So of course I love adding glitter in procreate projects too! Below, you can see I’ve started adding it to the sun.

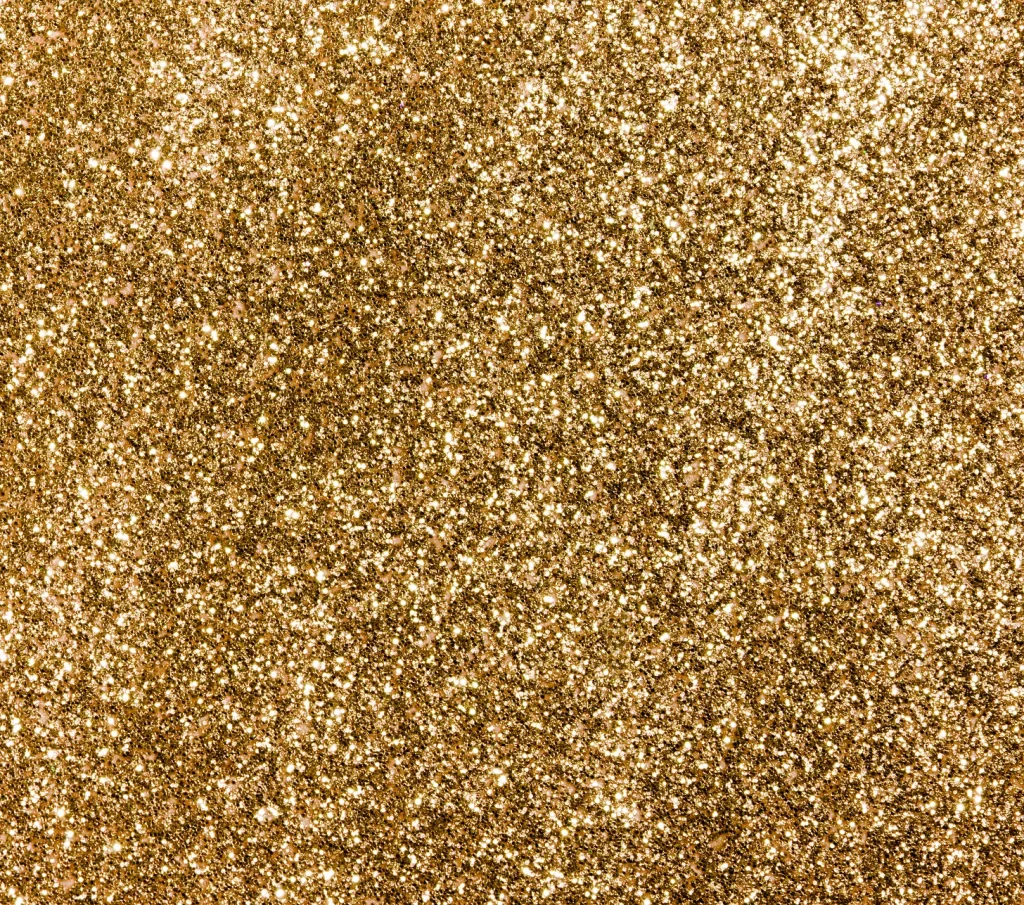
There are a couple ways I usually do it. One is a little more fussy because you need a special brush, a very particular color, and special canvas textures. But the other way is very easy if you have a great image of glitter which I’m posting right here for you! I hope you can save it some how! I think if you view this from the browser on your iPad you should be able to tap and hold the image to get a pop-up menu that gives the option to Save to Photos (or Open In New Tab…and then from there you can tap and hold to save). Sorry for the fussiness on that, I don’t have a link for this image.
That’s all you need to do and you’ll be ready! Later, I explain how you can make any glitter color you want with this one gold glitter image!✨🌈 You can also check sites like Unsplash and Pixabay for other glitter images if you can’t save this one.
You’ll need a blank layer above your art, then import the glitter image onto a layer above that. Tap on the glitter layer and turn it into a clipping mask…clipping the glitter to the blank layer. You will see it disappear but don’t worry! Remember, the stuff that is on a clipping mask only shows up wherever there is art on the layer it’s clipped to. All you have to do is draw on that empty layer and watch the glitter appear! You can use any brush and any color! The glitter is all you will see!
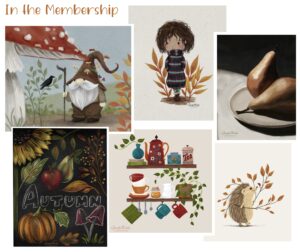
You’re essentially exposing the glitter layer! I hope that makes sense! You can see how I set up the layers on the very first image in this post.
Let’s Make Different Glitter Colors!
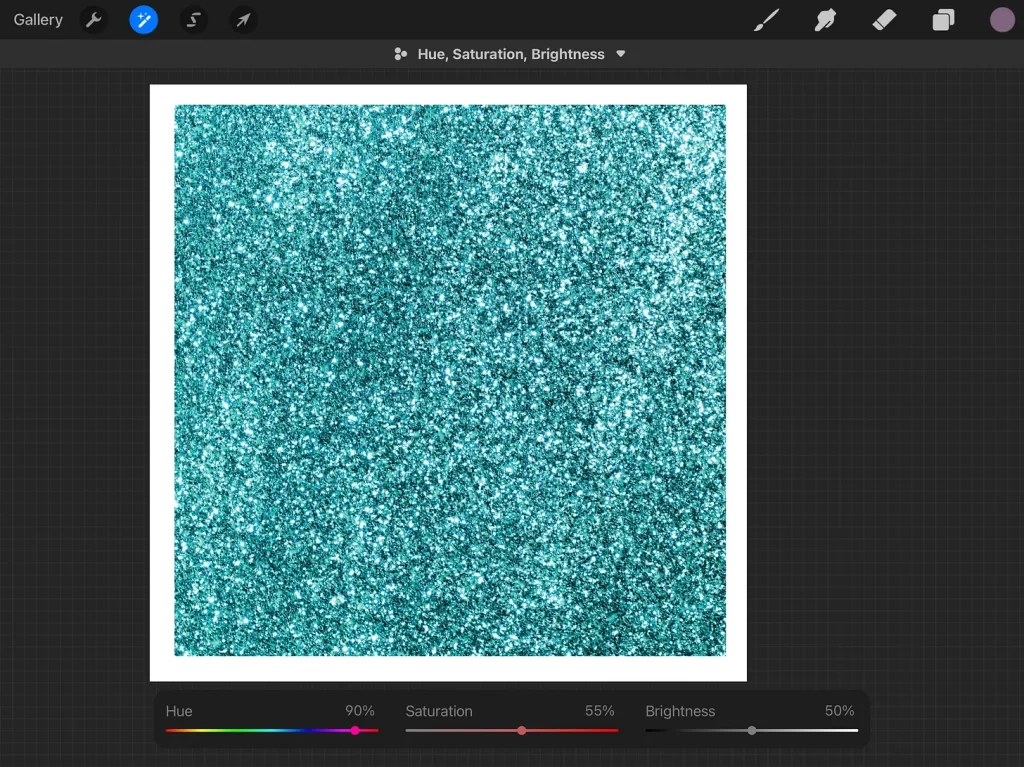
Bring your glitter image into a different canvas or a different layer that isn’t a clipping mask (so you can see it). Tap on the Adjustments menu (magic wand) and select Hue/Saturation/Brightness. You can play with hue to change the color OR you can turn the saturation alllll the way off to get silver glitter!
You can also paint lots of color on a blank layer above your glitter, have fun blurring it as well. Turn the blend mode of that colorful layer to Color and watch the magic! When you’re happy, you can merge the two layers into one!

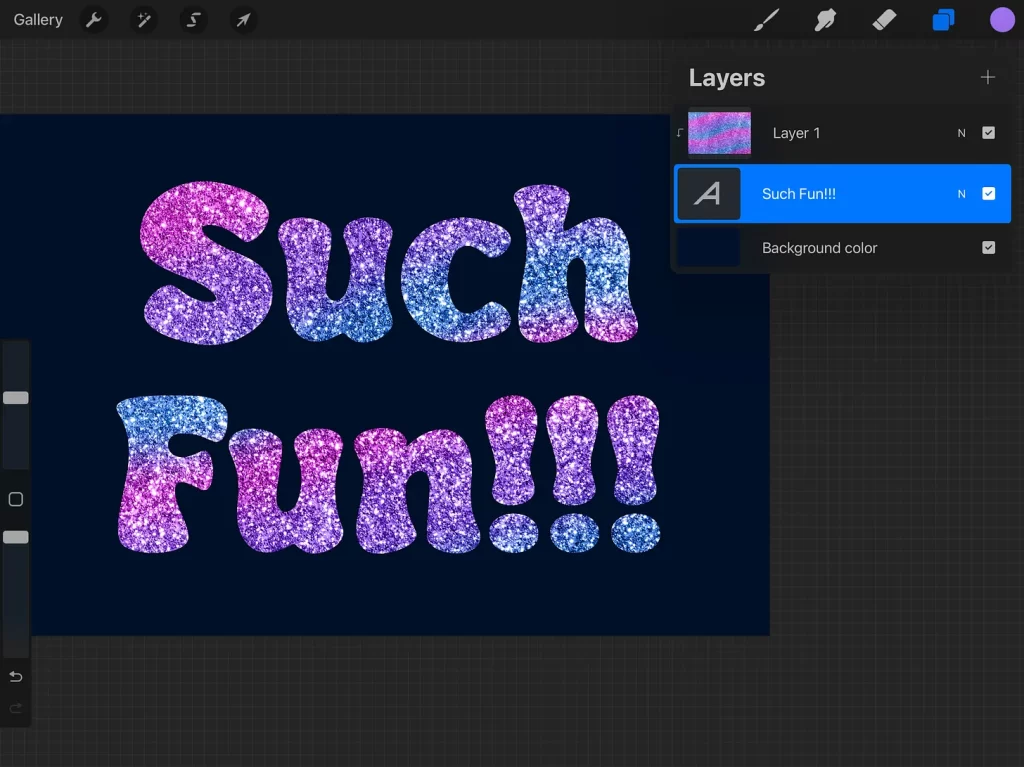
And if you’re wondering…yes, of course you can clip the glitter to a text layer!🙌🏻 This is a free font called Super Dream on FontSpace which you can find here!
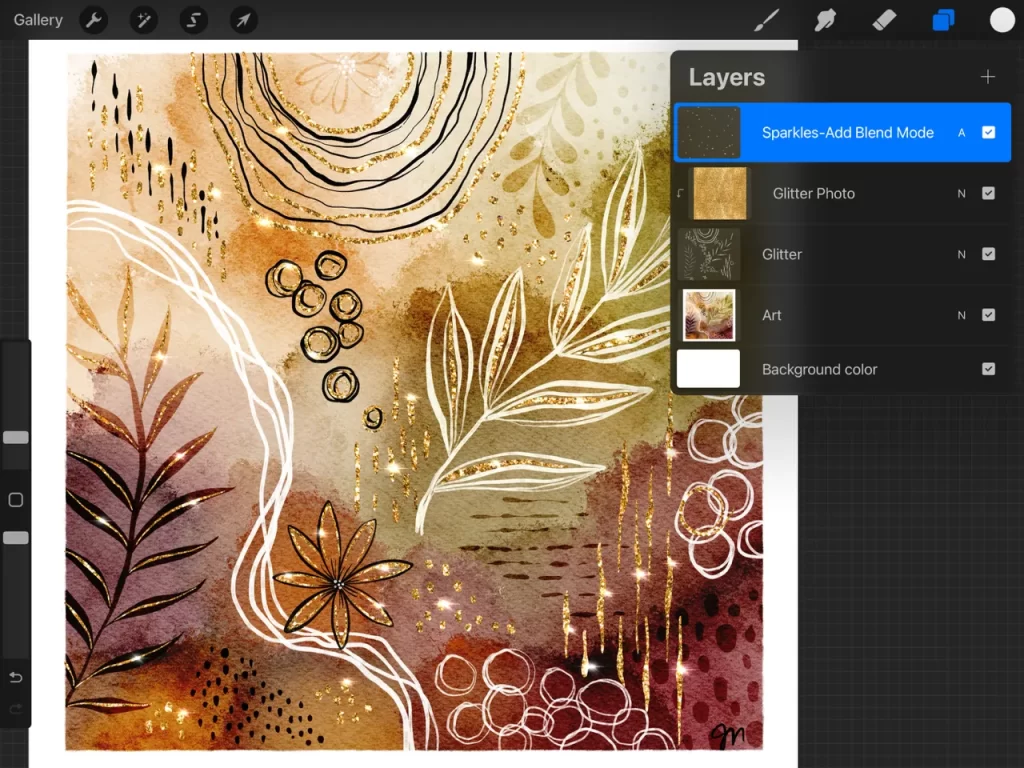
Glitter doesn’t print very well but it’s fun to use online! You can add even more shimmer by adding one more layer above your glitter and setting the blend mode to Add. Go to white (but also experiment with other colors!) and go to the Procreate native brushset called Luminance. You can play with the Flare and Lightpen to add bright flashy spots here and there on your glittery areas like what I’ve done here.
I hope this encourages you to add some sparkle to your day!
If you like the fun abstract look in this last image, check out my newsletter freebies! You can sign up here and you’ll get the link and password in your welcome email. Go way way back in the freebies area and look for an image that is similar to this👆🏼one. Here’s an older YouTube lesson for it as well! Enjoy!
-Jennifer Nichols