Are you intimidated by making repeat patterns? All the steps, moving things to corners, and the dreaded pixel gaps? I want to show you a few easy ways to make patterns without all the steps! These are perfect for Procreate pattern brushes!
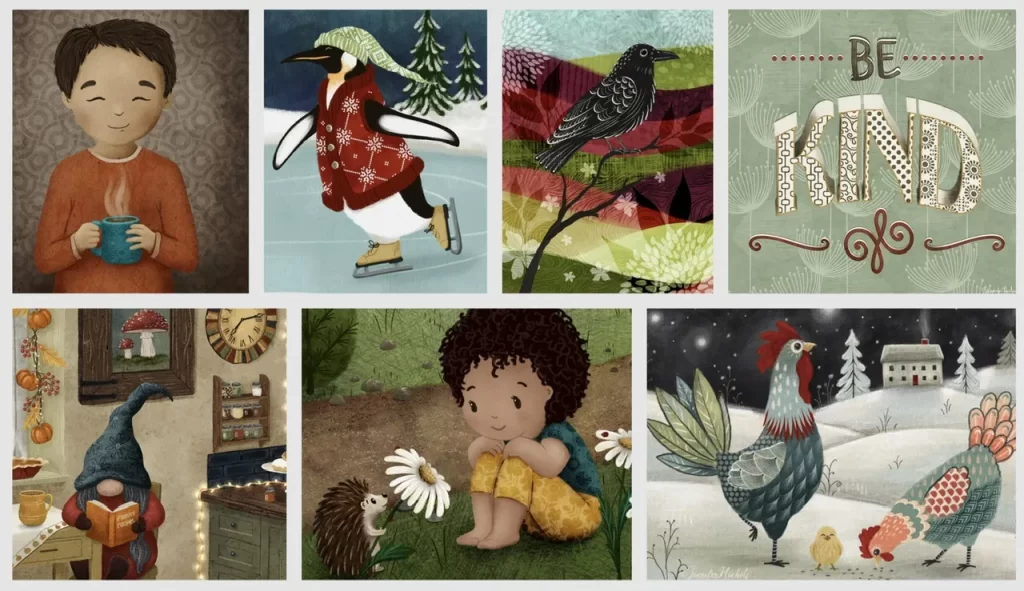
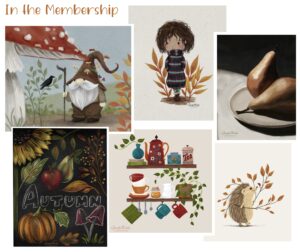
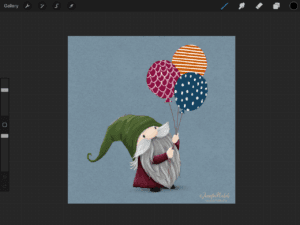
Here are some fun examples where I’ve added pattern brushes on clipping masks so I can play with opacity, blend mode, color, etc. and really get the look I want. Even on the boy’s sweater you can see a pattern if you look closely!
Let’s get started making pattern brushes!
The shapes you will be making will be grayscale since it’s simply for a brush. Easy peasy! You also need a square canvas. I use 10 or 12 inches at 300 dpi.
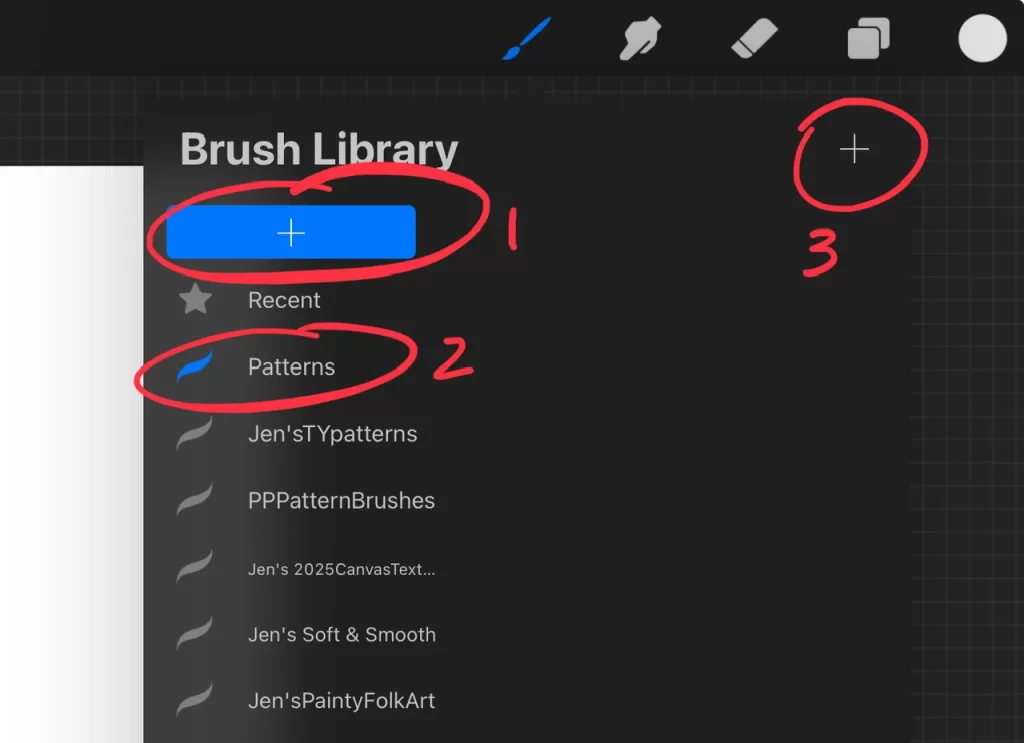
First we need to make a brush set and brand new brush! Go to the tippy top of the brush library and tap the plus sign (1), name your new set (2), and also tap the plus sign within that set (3). It looks like this:
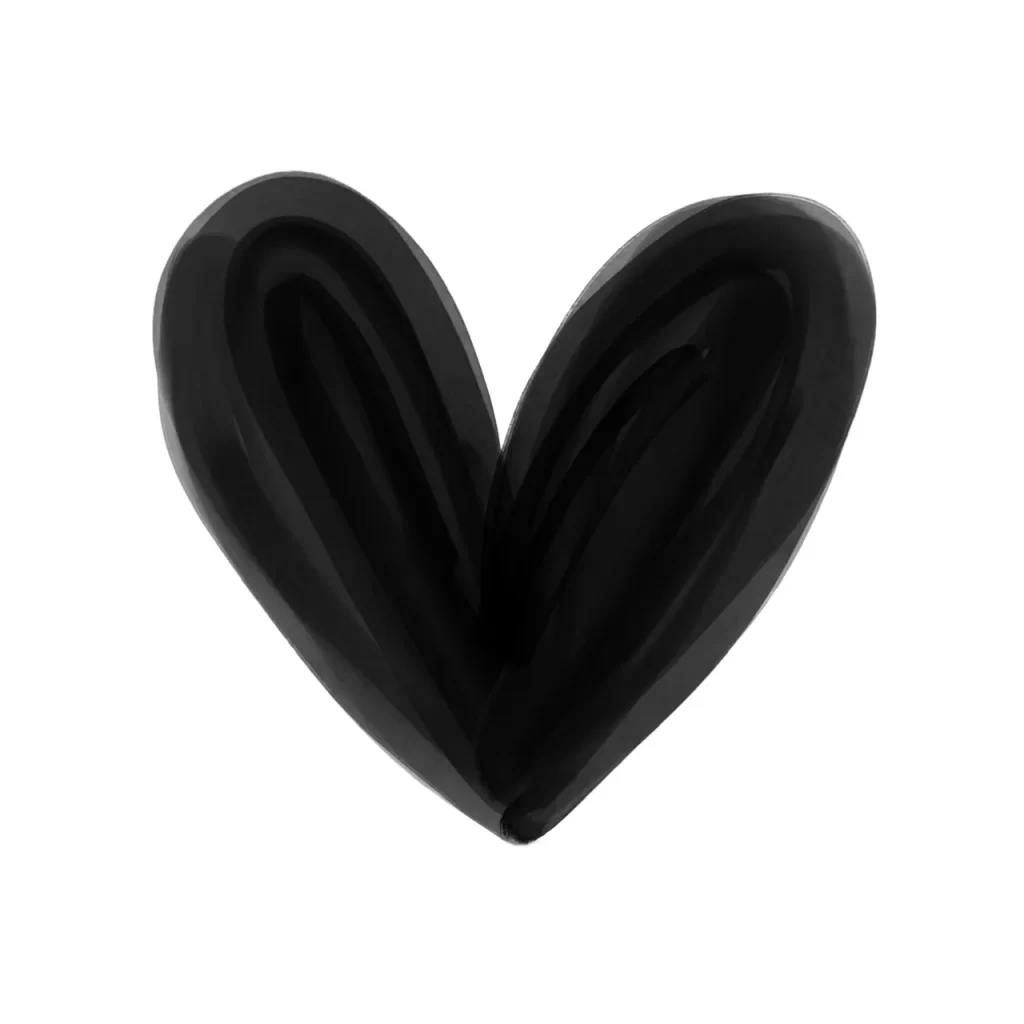
For the most simple version of a pattern brush, add a shape in the center of your canvas, like a heart, a dot, or a spiral! You can use black or a variety of grays. It can be solid or painty and smudgy! Organic, messy, blobby, perfectly symmetrical, whatever you want. Here’s mine!
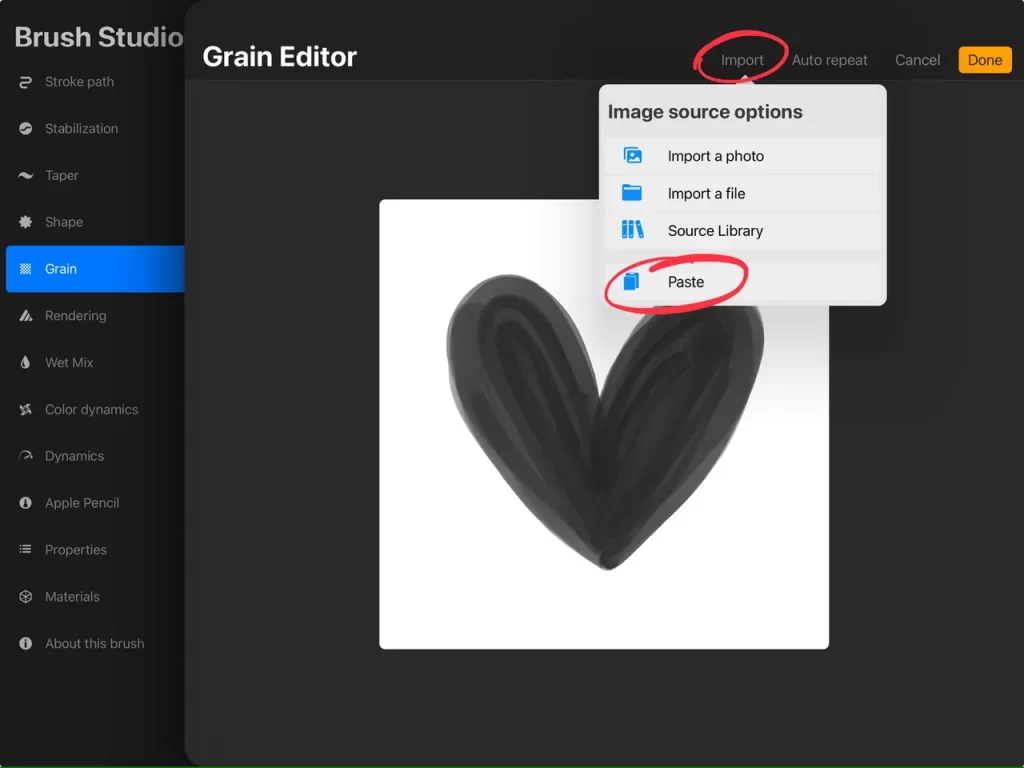
Go ahead and three-finger-swipe down to Copy All on your heart/shape that you made. Tap on your brand new brush to enter the Brush Studio. The first thing you will want to do in there is add your shape to the Grain so tap on Grain. Tap the Edit button near the blank grain image. Tap Import (over on the upper right). Finally, tap Paste.
**Tap the screen to get rid of the paste menu, then two-finger tap the shape so it INVERTS and gives you a black background instead of white.
YOU MUST TAP DONE TO SAVE THESE CHANGES!
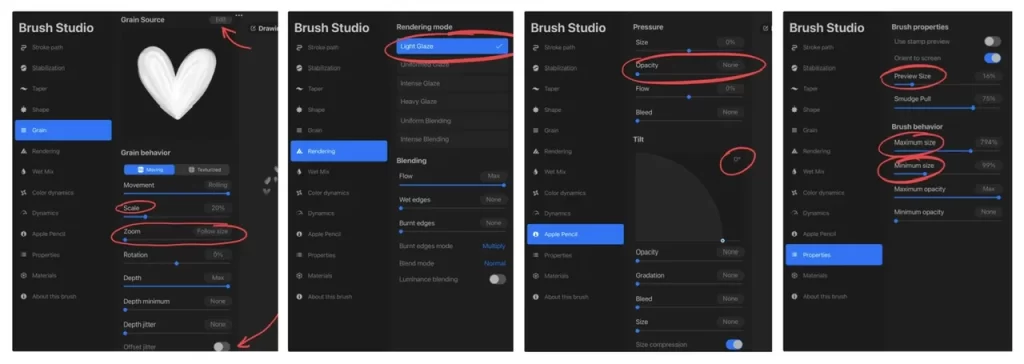
Here are more settings you will want to change. The four steps discussed below go along with the four images below that:
- Grain- Bring Zoom all the way down so the scale of your pattern goes up and down when your brush size goes up and down. This is a personal preference you can experiment with. Scale can be experimented with later as well! And scroll down to turn off Offset Jitter so your pattern continues where it left off even when you pick up your pencil. Keep in mind, you can make edits to your heart/shape any time and come back in to Edit the grain and simply paste an updated version into that grain source.
- Rendering- When I am using shades of gray, not just solid black and white, I select Light Glaze so the texture and value can be see when you use the brush.
- Apple Pencil- I slide Opacity all the way down (and turn off tilt settings). Having the opacity down means that you have consistent color no matter what pressure you use. If you want it to be faded with light pressure and darker with heavier pressure, keep opacity up high! Experiment!
- Properties- With pattern brushes I always bump up the max and min sizes and this is all about your own preferences. There is no magic number. It will depend on the Scale size over in the Grain settings, and you will want to test your brush to check things like how small is the pattern when your brush size is small. Is it impossibly small? If so, go back and increase your minimum size and test again! The Preview Size refers to what it looks like in your brush set! This will play off of your brush size min and max so I recommend getting all the settings how you want them and then check Preview Size.
Tip: I usually change the Shape to a softer circle as well. Go to Shape, tap the Edit button, go to Import, and go to Source Library to choose a new shape. Tap Done!
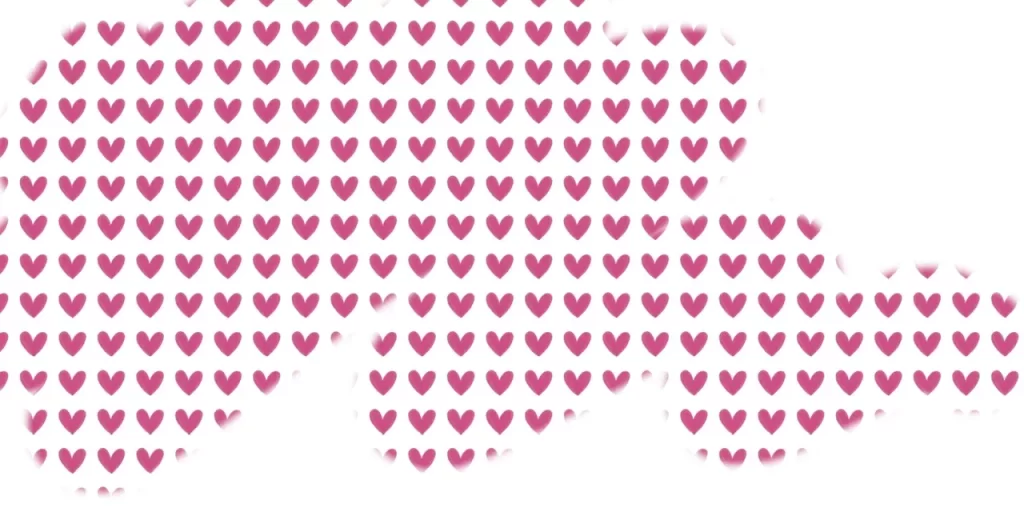
YOU DID IT! TIME TO TEST IT OUT!
As you will see, you made a beautiful brush with a simple grid pattern. The bigger your shape is, the closer together the shapes will look. Smaller shapes will have more space between them!
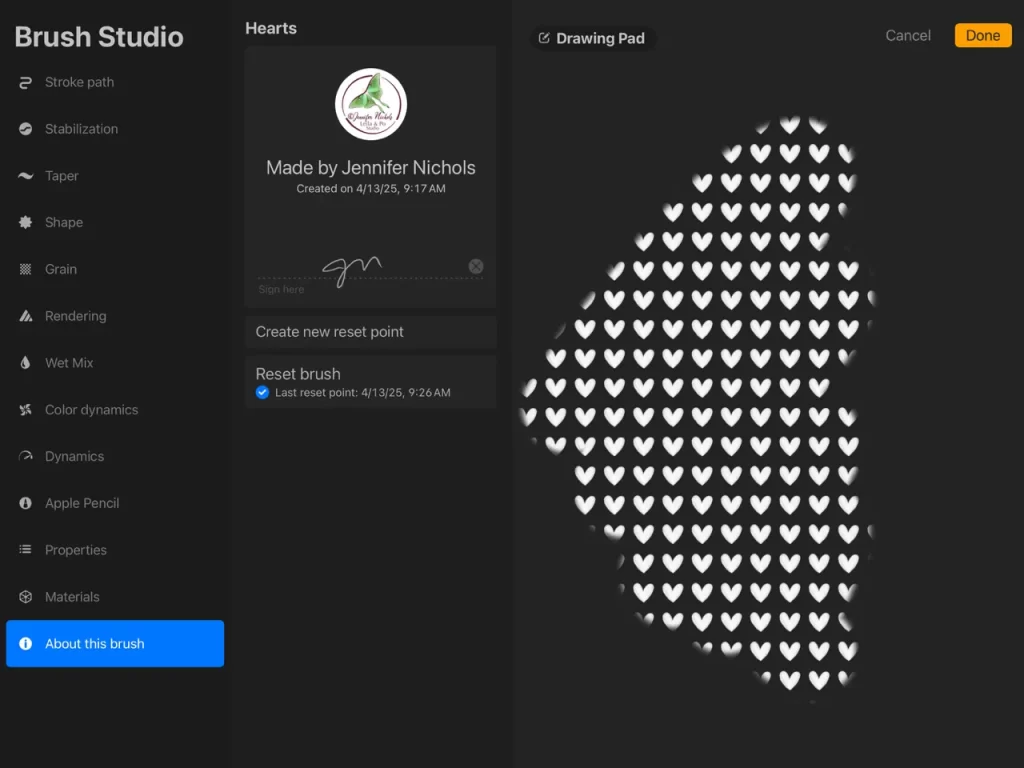
I would highly recommend that you add your personal info in About This Brush. Adding the photo is the only way to lock in your details so the only thing that can be edited in that section is the brush name.
Now, you made all these changes in the brush settings and it’s a really good idea to do this multiple times to help your muscle memory. So starting from a brand new brush each time will help you do that. However, you can also duplicate this brush that already has the settings just the way you like them (from the brush list just swipe to the left on the brush and choose Duplicate). Then you can simply paste a new Grain into it and maybe play with scale and you have another brush! In About This Brush, your details will already be locked in but you can still edit the brush name to match the new brush.
Time to level up your pattern brushes!
Turn on your drawing guide, 2 D Grid, and max the size so you have lines down the horizontal and vertical centers of the canvas. We just use these as a guide. Now draw a shape in opposite corners like this! They need to be somewhat centered in their little squares.
Copy All and paste it into the Grain of a new brush (let’s say you duplicated the first brush). Remember to two-finger tap if you need to invert to a black background! If you did duplicate your first brush then this will already be done for you! If you started with a fresh brush then you can go through the steps listed above to adjust your settings.

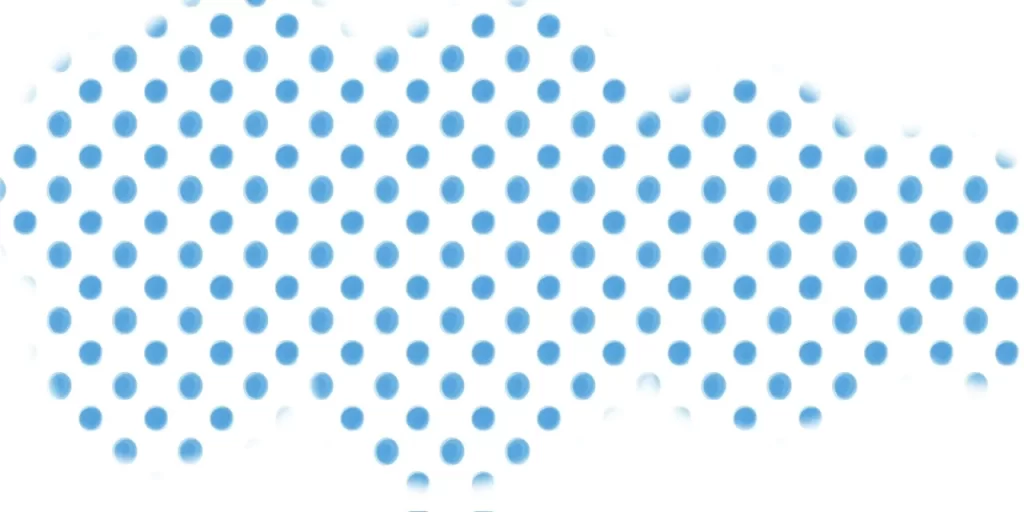
Ok, let’s test this one now and see how it compares! Check it out! The shapes are offset now. Another super simple brush that isn’t a grid!
You can have fun painting a diamond in the center of your canvas too! So many possibilities without having to make complicated repeat patterns!

I have a challenge now!
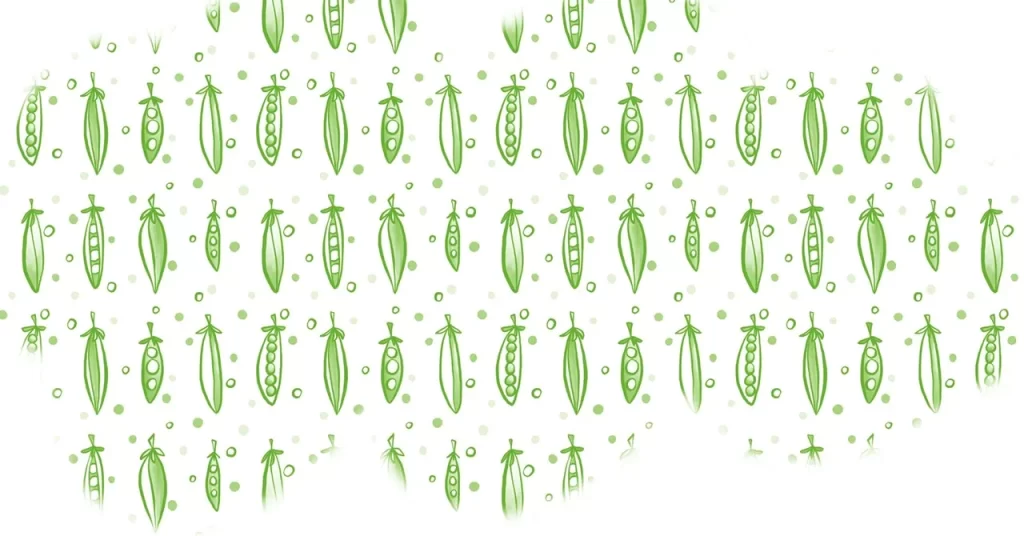
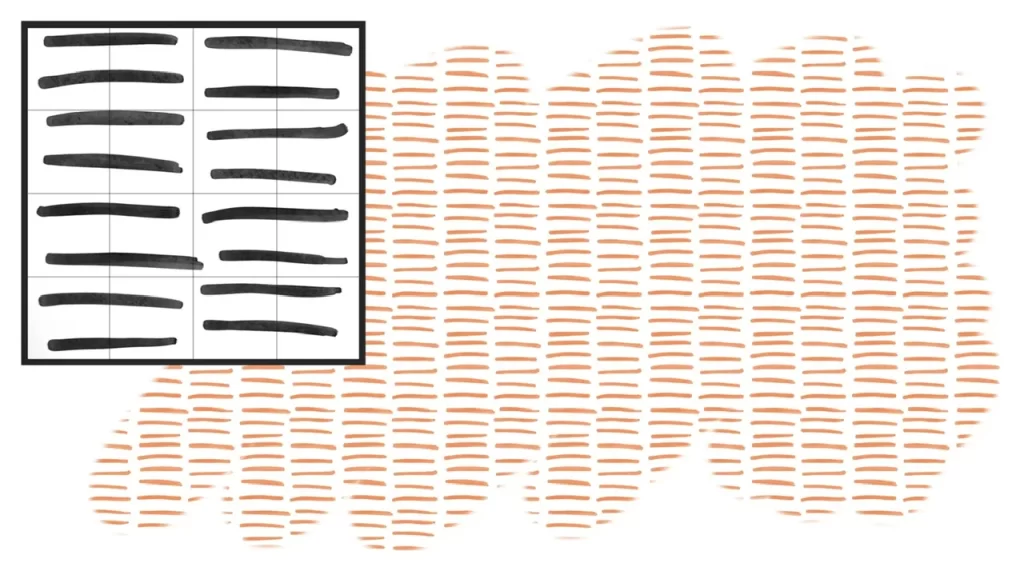
Set your drawing guide so you see a 4×4 grid. Now you can draw long shapes that take up a 1×2 section of that grid! Here are some fun pea pods using black and gray. The grid helps you disperse everything evenly without having to do all the repeat pattern steps.
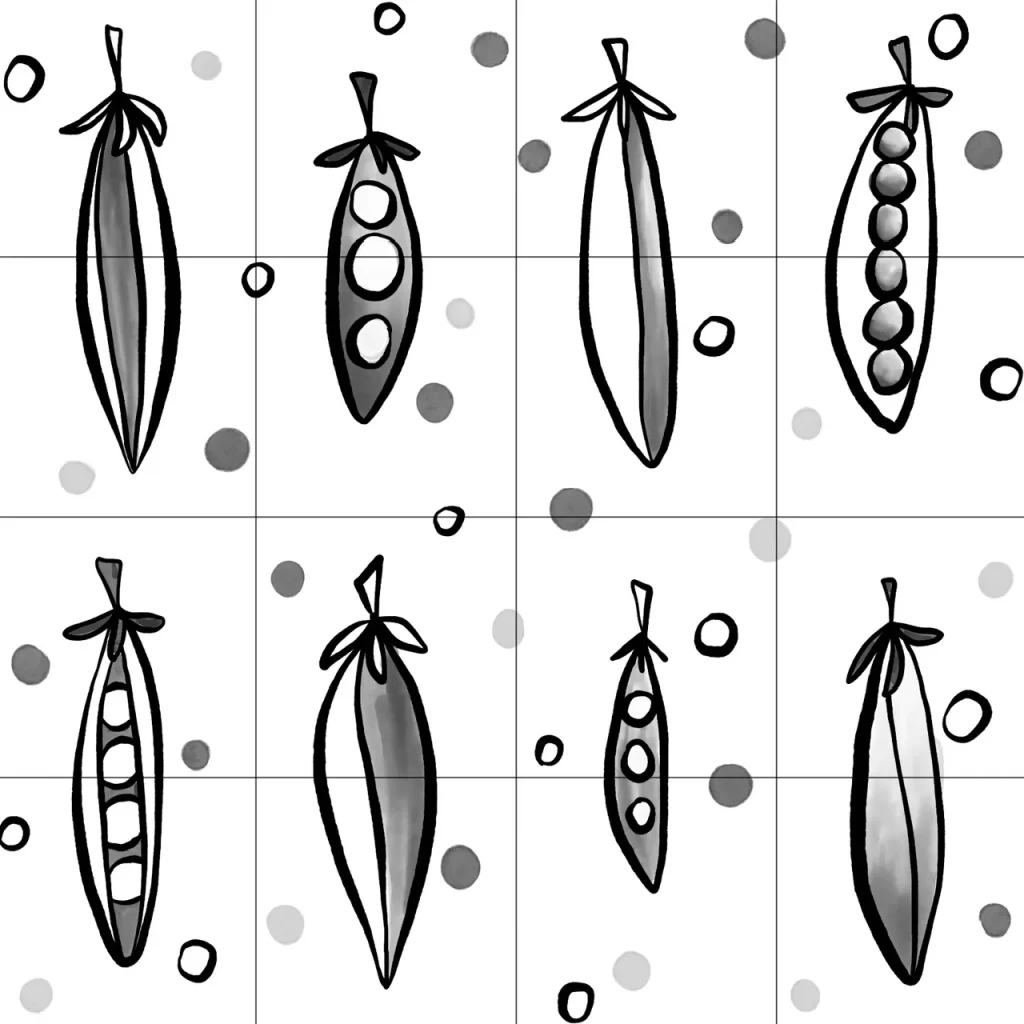
In pattern brushes, the black will show your paint color at full opacity. The gray tones will simply be that same color but they will be more transparent, giving them the look of lighter colors (but they aren’t).
You can easily see that here (this is also why we switched Rendering to Light Glaze, so these values can be seen).
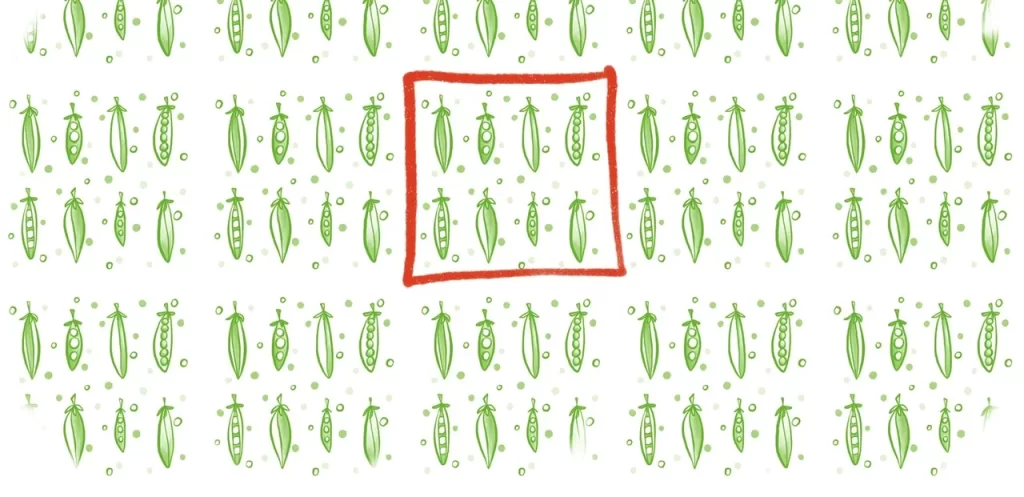
Why use the grid lines when making your shape? This is simply to have a rough idea of laying out your pattern in a way that will make it appear seamless without having super obvious borders. Here’s an example of what the pea pods might have looked like if I drew them on a blank canvas without the grid lines. See the difference? Very obvious borders.
Play! Experiment! Doodle!
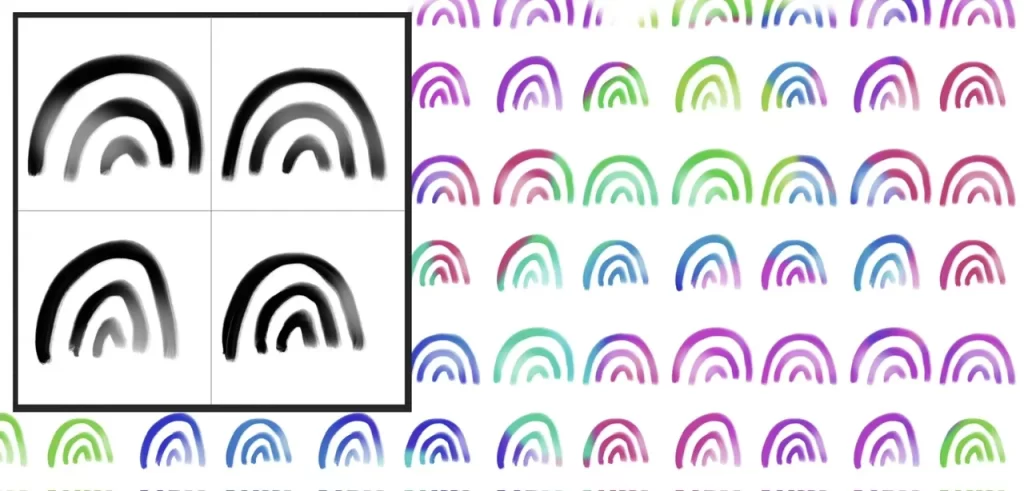
One more fun thing to think about with any shape, in order to have variety even in a basic grid like the heart one I did above, is to draw multiple versions of that shape! Here is an example of very simple rainbows. I also played with Color Dynamics and scrolled down to Color Pressure, bumping Hue all the way up to get this result!
Here’s an example that will give you a pattern brush that you can easily use as a “texture” as well!
I hope this was helpful! If you like to learn through video rather than text, I do have some brush-making lessons on YouTube and as always, I have classes in my membership (along with extra guidance in my community). I have LOTS of free brushes for newsletter subscribers, including numerous pattern brushes. You can sign up here! Your welcome email will have the link and password!
Remember, you can turn any square repeat pattern into a pattern brush! Enjoy!
-Jen


4 thoughts on “Make Playful & Easy Procreate Pattern Brushes”
I’m new to procreate and. Is really fin to learn. With you
I am so glad you are having fun:)
Thank you for such clear instructions Jen – I’ve enjoyed making weird pattern brushes and generally enjoying the process!
You are very welcome!
Comments are closed.