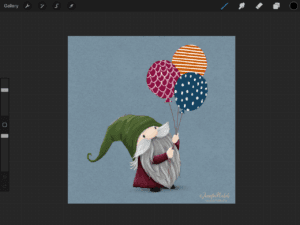
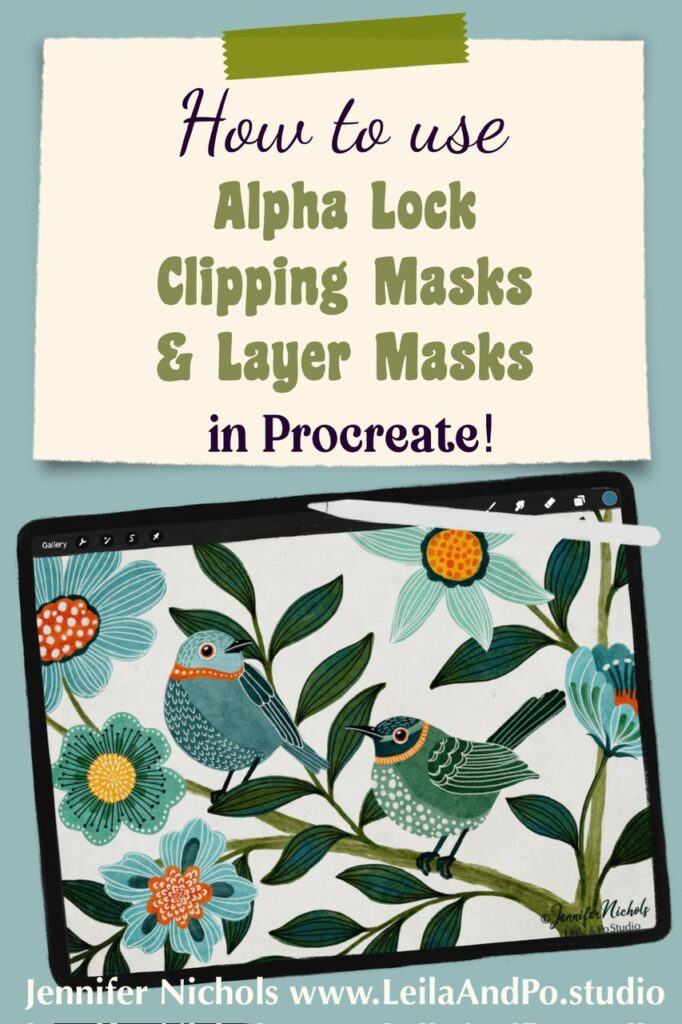
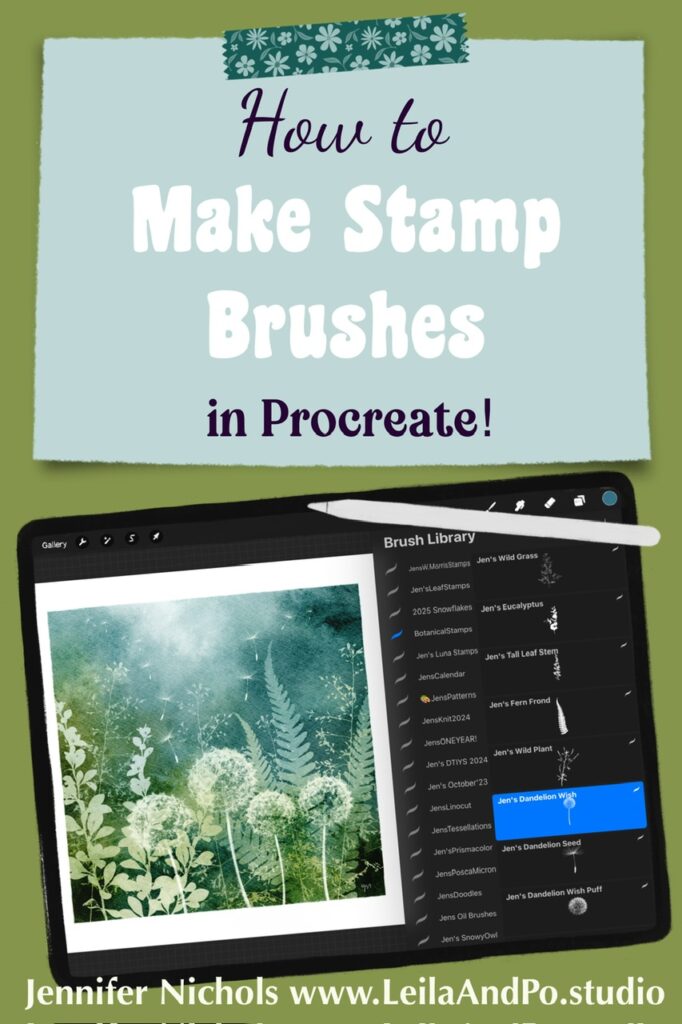
Do you struggle with posting to Pinterest regularly? Do you love Procreate so much that you like making allll the things within Procreate? Me too! In this post I will show you a fun way to make some Pinterest templates in Procreate. Once you have a variety of templates, you can easily swap out images, text, and colors to make new pins which will hopefully lead you to posting more! Here’s one example:
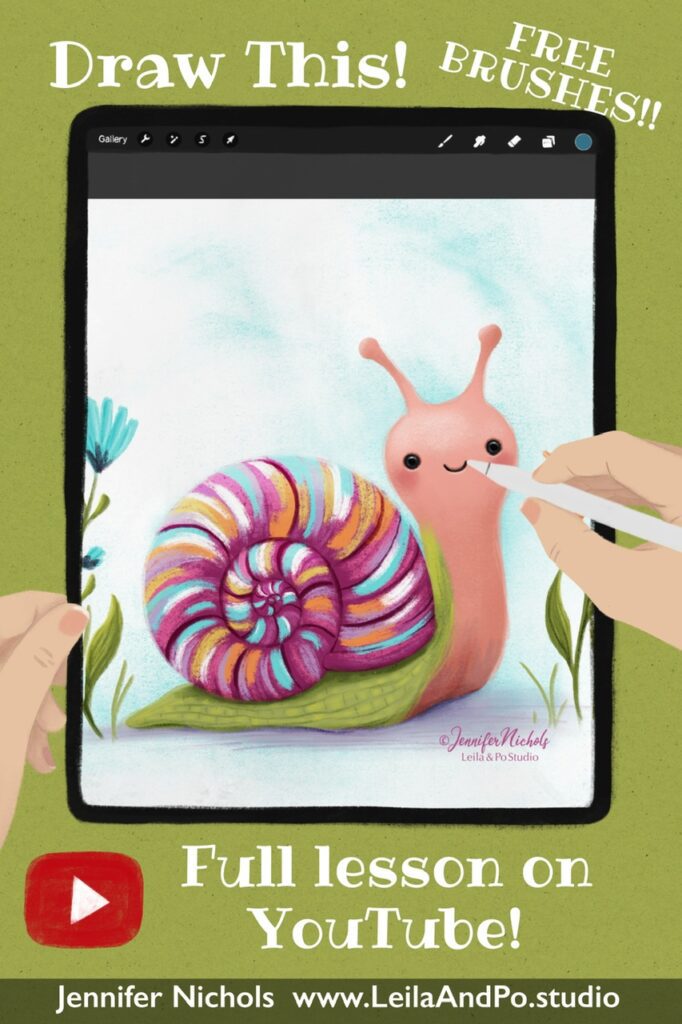
I have made several options for Pinterest Pins and I keep them in a Stack in my Procreate Gallery. I had fun drawing the actual iPad and Apple Pencil with pastel brushes. You can also draw some hands! If you don’t want to do something like this, you can find some free-use images of iPads on sites like Unsplash.com! Keep reading if you want to see how I made one of my pins (and there’s a freebie at the end).
Let’s Make One Together!
I would recommend browsing Pinterest and taking note of pins that catch your eye! What is it about them that you like? Large font? Fewer words? Images? How busy are they? It’s a great way to start developing your own pins! Here, I am going to show you one style but you can use the techniques to make more! A typical Pinterest Pin has a ratio of 1 to 1.5 so 1000 pixels by 1500 pixels works! But I like making things a bit bigger than that so I double it! My pins are 2000 pixels wide and 3000 pixels tall. I use 300 dpi for everything. So the first step is to make a canvas that size!
If you want to make a similar pin to this one, you can go get the Newsletter Freebies for the “paper” that you see here. Sign up for the newsletter and in the welcome email you will get a password and link to the freebies. Scroll to the 2023 section and grab the set that has this image on it:
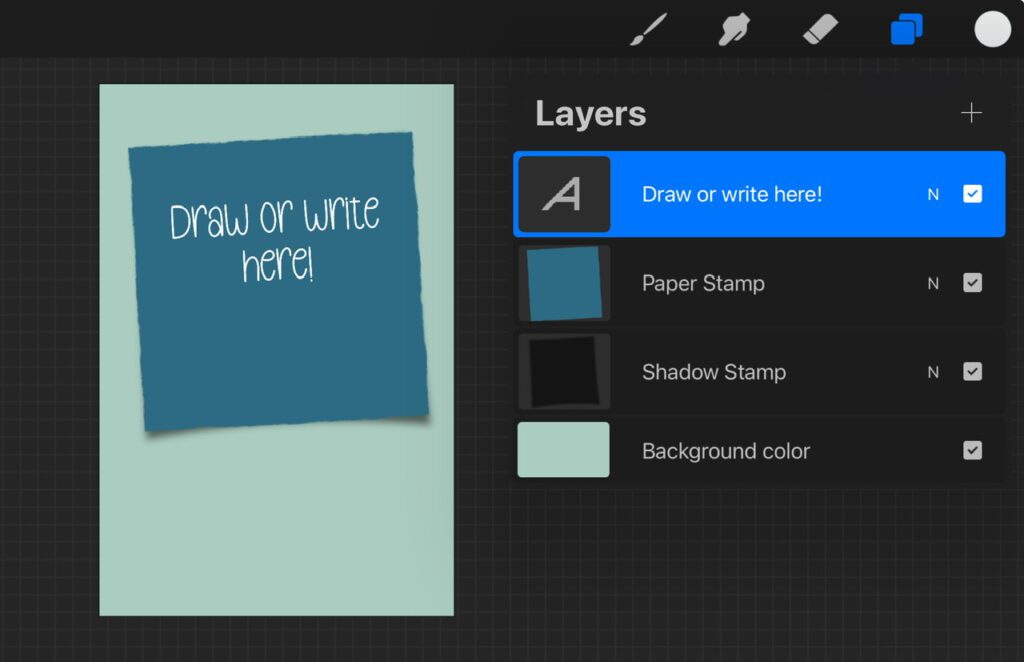
Prepping the “Note”
Choose any palette for now (there are lots in the newsletter freebies section). That is the part you will be changing each time you use the template so no need to be picky about it at this moment. Set your paper and shadow stamps to the same brush size and stamp the shadow in black on the first layer. Stamp the paper in a fun color on the second layer. Then add a text layer above those! If you don’t want the paper and shadow to be square, select them both and set the selection to Freehand so you can shift either the width or the height. You can also select all three layers and shift them so they are angled a bit or move them around on the paper. Maybe you want your note at the bottom!
Here is a YouTube lesson about finding free fonts and importing them into Procreate.
Now Let’s Add the Washi Tape!
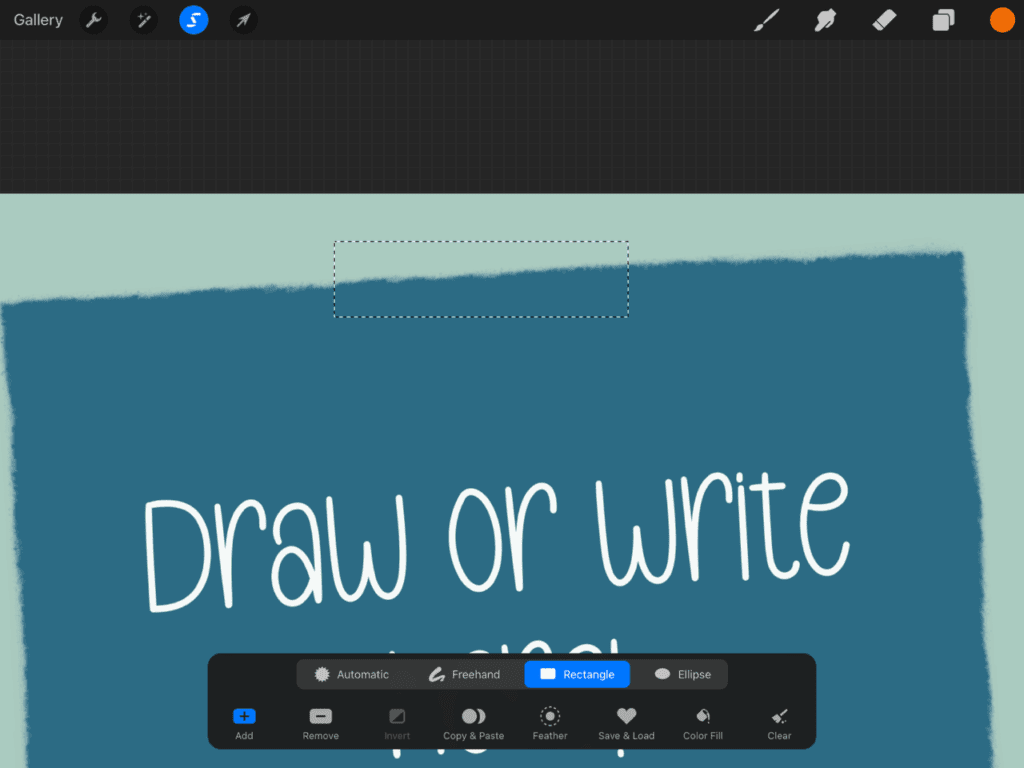
There are a few ways to make Washi tape. I made a stamp brush for mine! You can learn all about making stamp brushes here! But for how, using the selection tool set to Rectangle will work just great! Go to a layer on top of your note that you just made and make a tape shape! Create your rectangle and fill it in with any color.
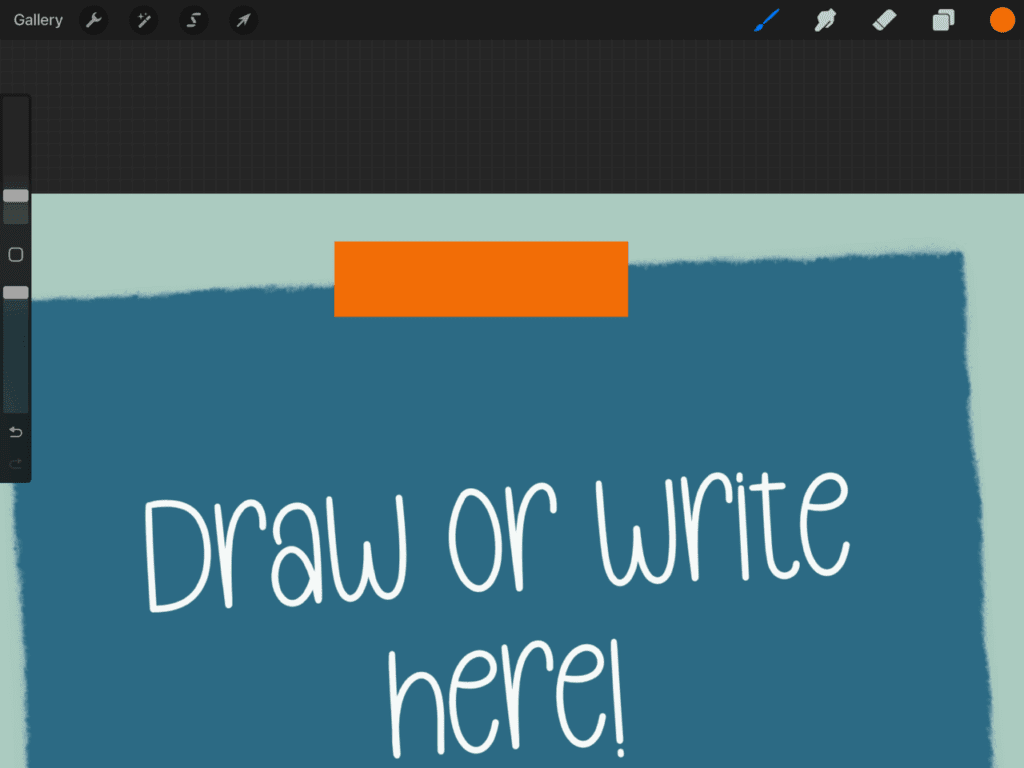
We can’t have you using such a boring rectangle and calling it Washi Tape so let’s spice it up!
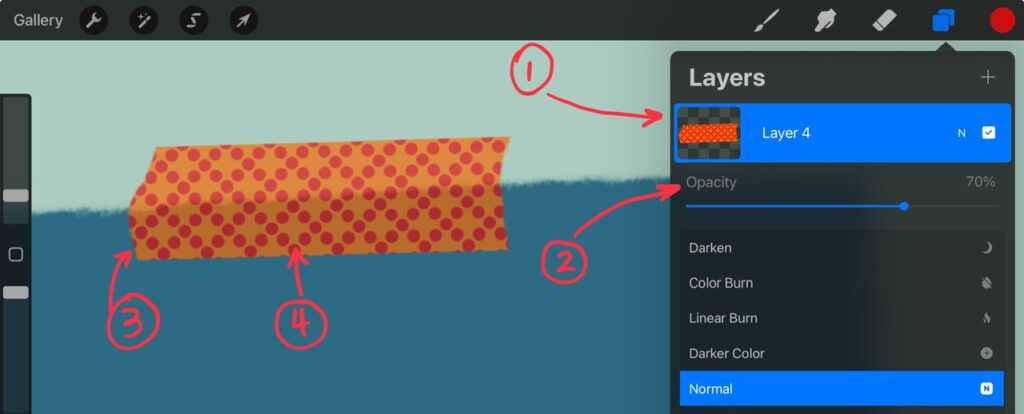
1. Alpha Lock the layer.
2. Turn the opacity down to your preference.
3. Erase the edges to give the look of ripped tape. I used the native brush Dry Ink (a personal favorite).
4. Pick a pattern brush and new color to swipe it around on the tape! You could also do that on a Clipping Mask.
You can do these things in a different order, just be sure the tape is alpha locked before swiping over it with a pattern! By the way, you can learn how to make pattern brushes here!
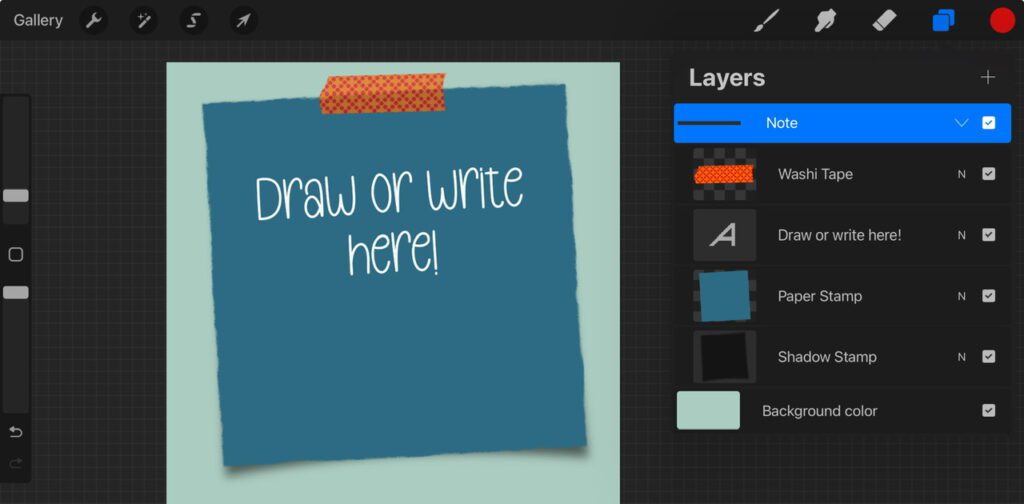
You did it!
To keep things organized, swipe right on all the layers and group them. This can be used in a variety of pin-styles. Depending on what you plan to pin, you can add an image on the bottom half, or an iPad like I did. The possibilities are endless. You can duplicate this whole canvas and shift things around for another variation. Keep the tape and paper layers set to alpha lock so you can pick new colors and “fill” them when you want a new look on a different pin. The tape layer will probably switch to full opacity each time you “fill” and you can just lower it again if you wish. Then you can add a new pattern brush as well! Play with the position of the tape and how many pieces of tape you use as well. Taping your note down in the four corners would be super cute! Watch the shadow in that case, you may not need one!
Adding the iPad
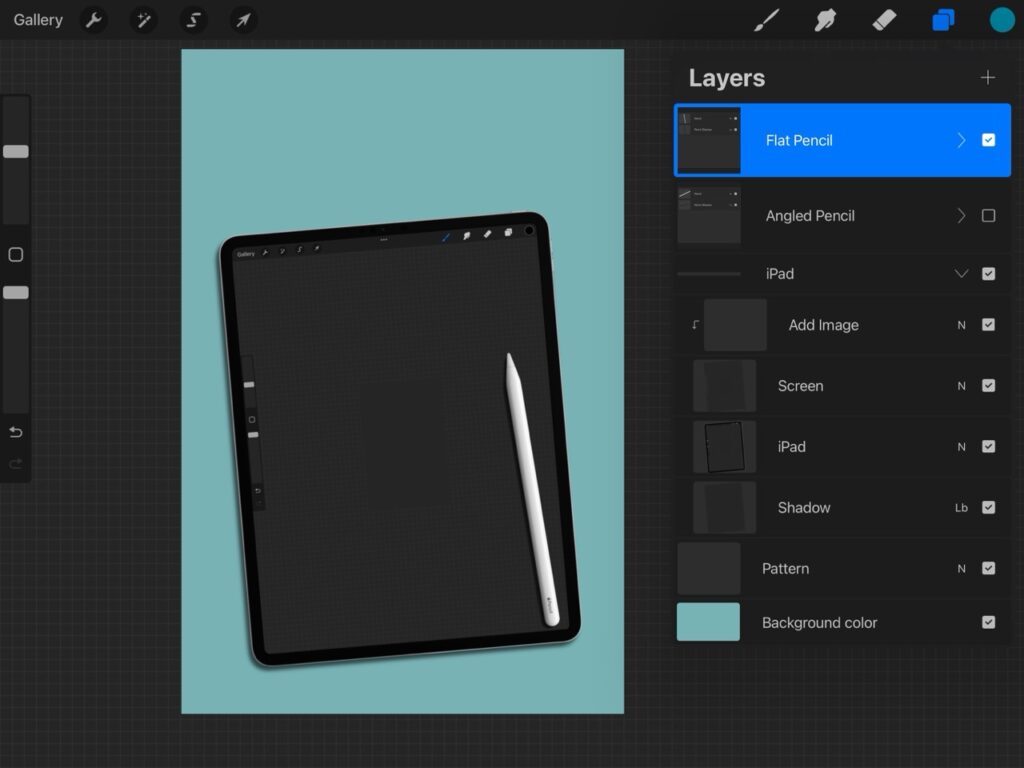
If you decide to draw an iPad, I wanted you to see how I manage those layers in order to easily swap out the image that is displayed on the iPad. It’s pretty simple. Make a rectangle that is the shape of the iPad screen and let it be on its own layer. Then add a Clipping Mask above it. You can copy and paste any image onto the clipping mask and it will only show up where the rectangle is. I wrote about Clipping Masks here if you need more help understanding them.
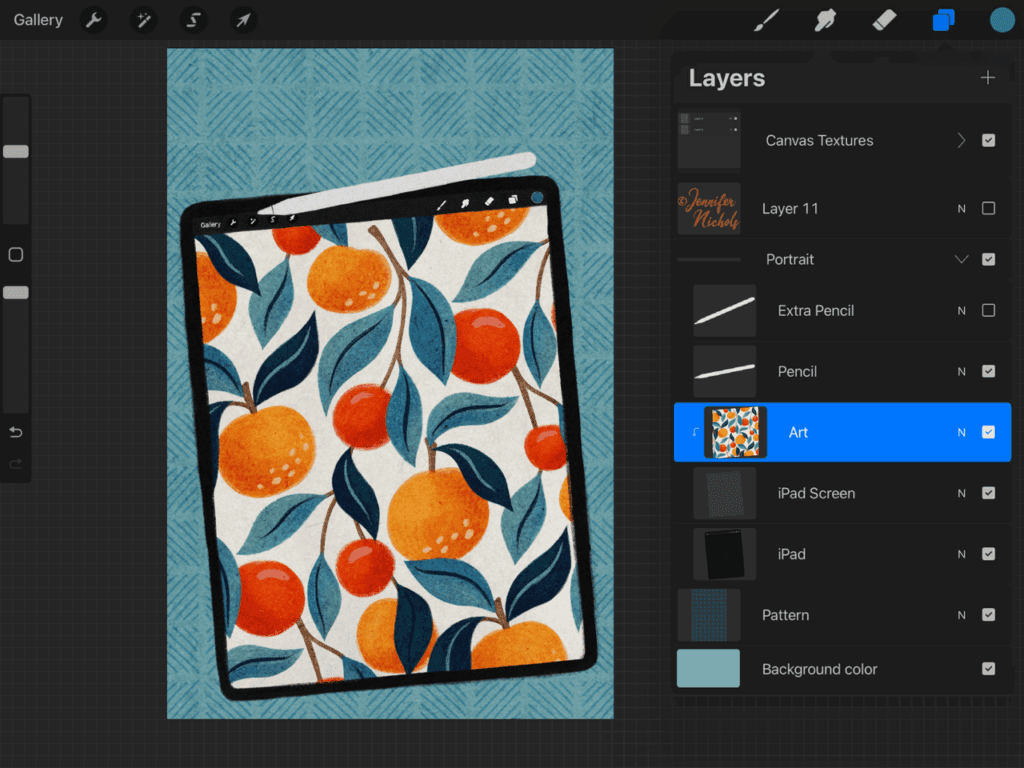
In the layers, you will also see some canvas textures, a pattern layer below everything, and an extra pencil. I keep an original pencil because in Procreate, when you move an object too many times, it gets fuzzy. But sometimes I want to move the pencil! Keeping an extra just gives me the option to grab a non-fuzzy one down the road when I’ve moved the other one around a bit too many times.

Let’s Look At a Finished Pin
Take a look at the layers on a pin that has the note and the iPad on it! I don’t have the extra pencil in this particular screenshot because I wanted to keep it very simple to look at. I also kept all the text in one group. You don’t have to keep the note text directly with the note layers. As long as it’s on a layer above the note, it will work. This is the way I have preferred to set things up but you can experiment to find a workflow that makes sense to you!
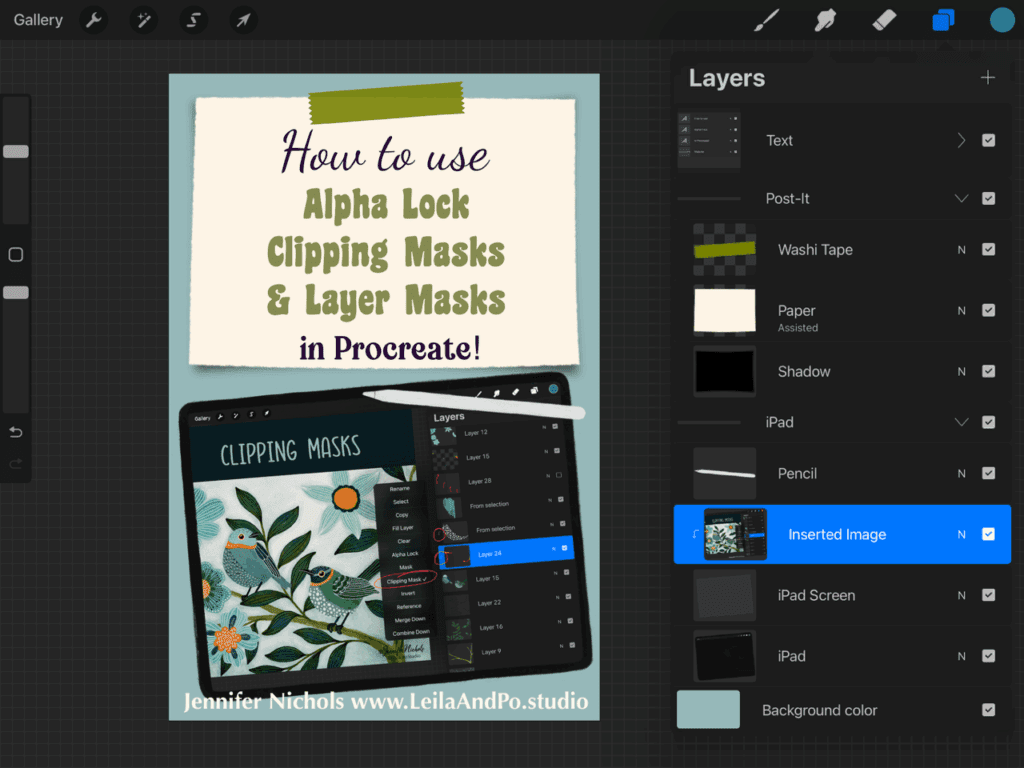
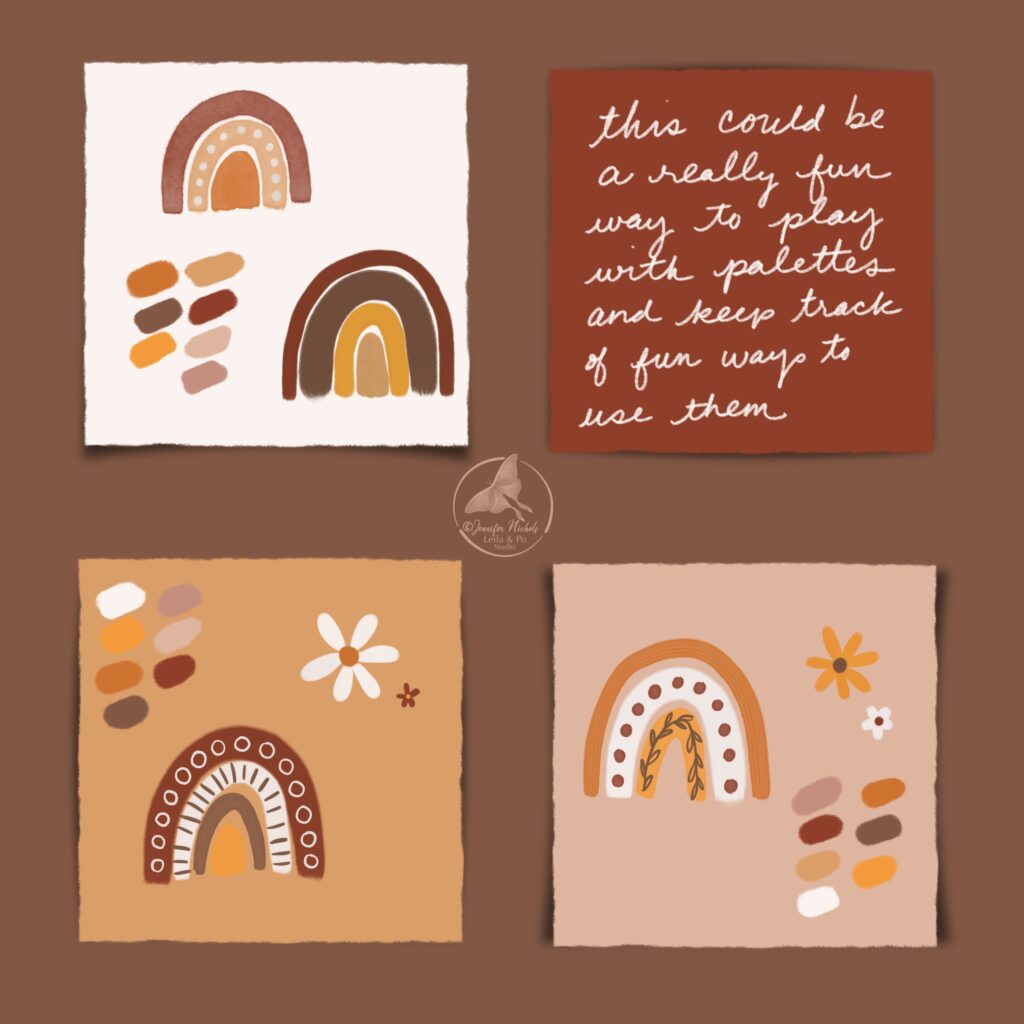
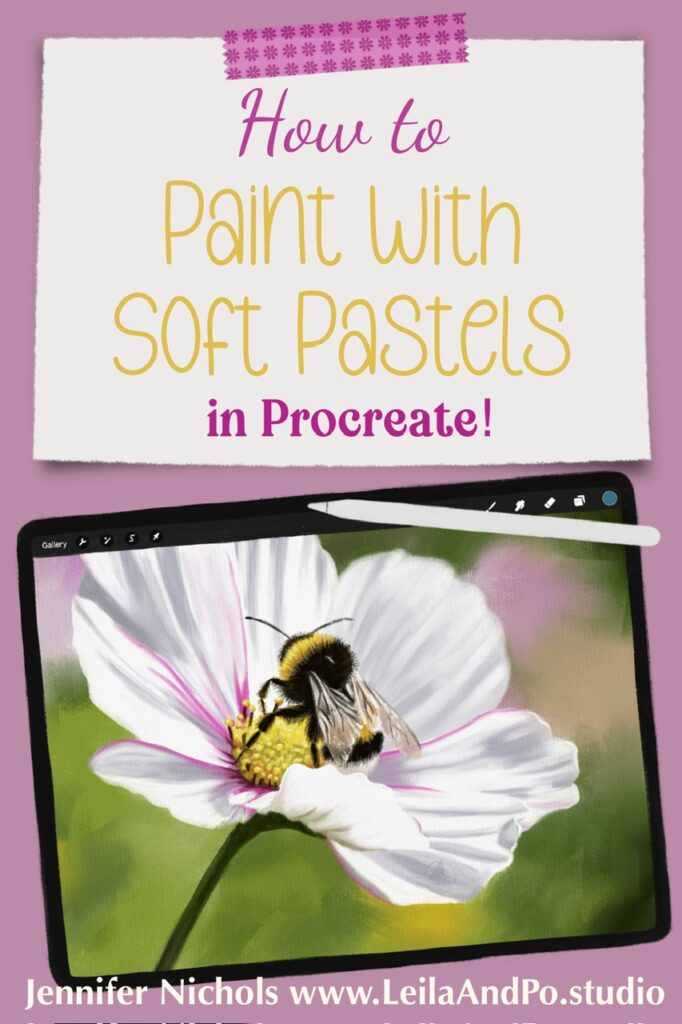
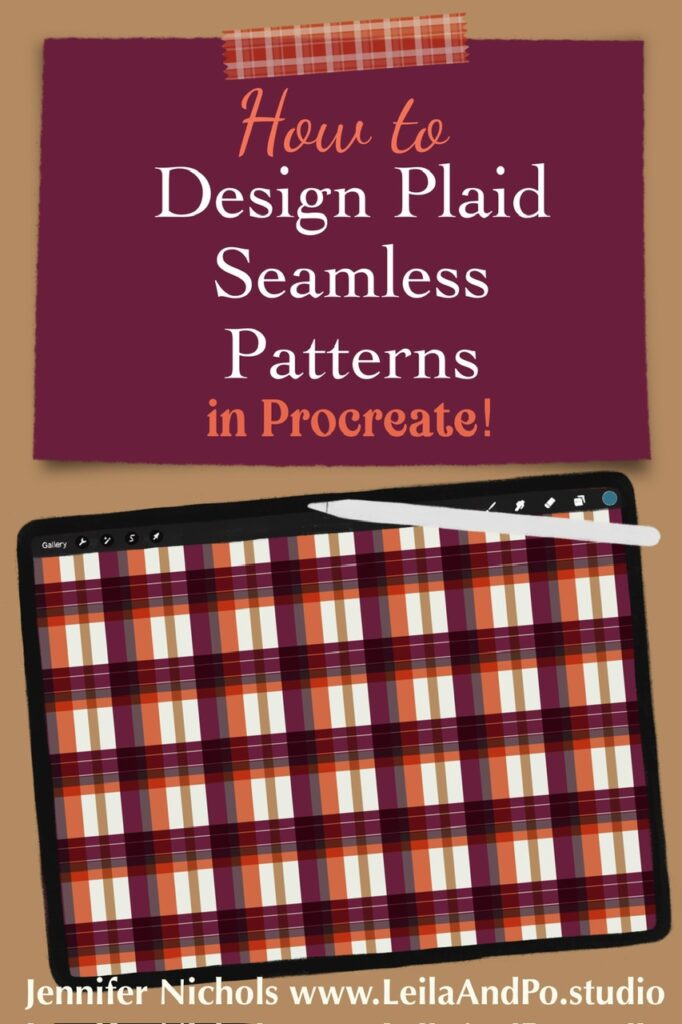
With just this one template, you can make all sorts of pins! Swap out the image, change fonts, colors, background, etc! Here is the same pin in 3 more ways!
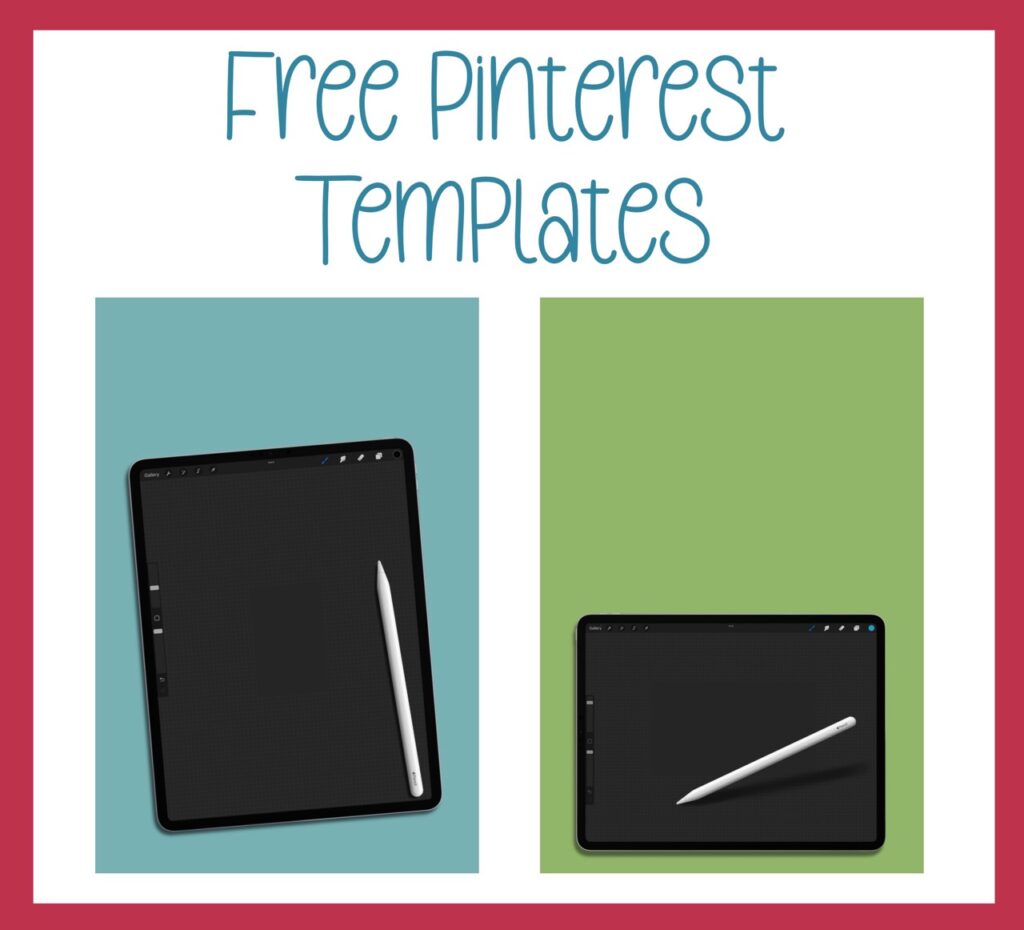
Free For You!
I hope you enjoy making some templates and keeping them handy to make things easier for yourself! It can be a chore to get into the habit of regularly posting to Pinterest or any social media. I have been listening to the Simple Pin podcast for ideas and I have found it very useful. It’s recommended that you create multiple pin styles for each piece of content. I like this idea because you can make one blog post, video, or other product result in numerous Pinterest posts! So if you have a wide variety of pin style templates, you can easily make a bunch of pins about the same topic!
By now, you have likely seen my massive “newsletter freebies” section! Well at the end of writing this post I decided to add the Pinterest pins with iPad photos that I used to use! I used these before I drew my cute little pastel iPads and I would like to offer them to you to make life easier! They are now in the newsletter freebies section! Like I mentioned above, things get fuzzy when you move them around too many times so I would keep “originals” set aside and duplicate them to make new pin styles! Don’t forget to make back-ups! You can look for this image in the 2025 Freebies section to get the free download!
Here is what the layers look like. They are a bit different. There’s a couple pencil positions and there are shadows! But the idea is the same, you add images to the clipping mask! Enjoy!