Draw some mandalas with me! I’m finishing off my year of weekly art prompts with a month of mandala prompts that have a spring equinox theme! You can find all of those details here!
As part of my Mandala madness, I also did a live lesson in Peggy Dean’s Procreate Party to show exactly how I made this celestial harmony mandala. I gave away this brushset for that event as it’s all you need for this mandala and many others! It’s now free for all newsletter subscribers too! Be sure to go grab it by signing up for the newsletter. You will get a link to the massive freebies section as well as a password!
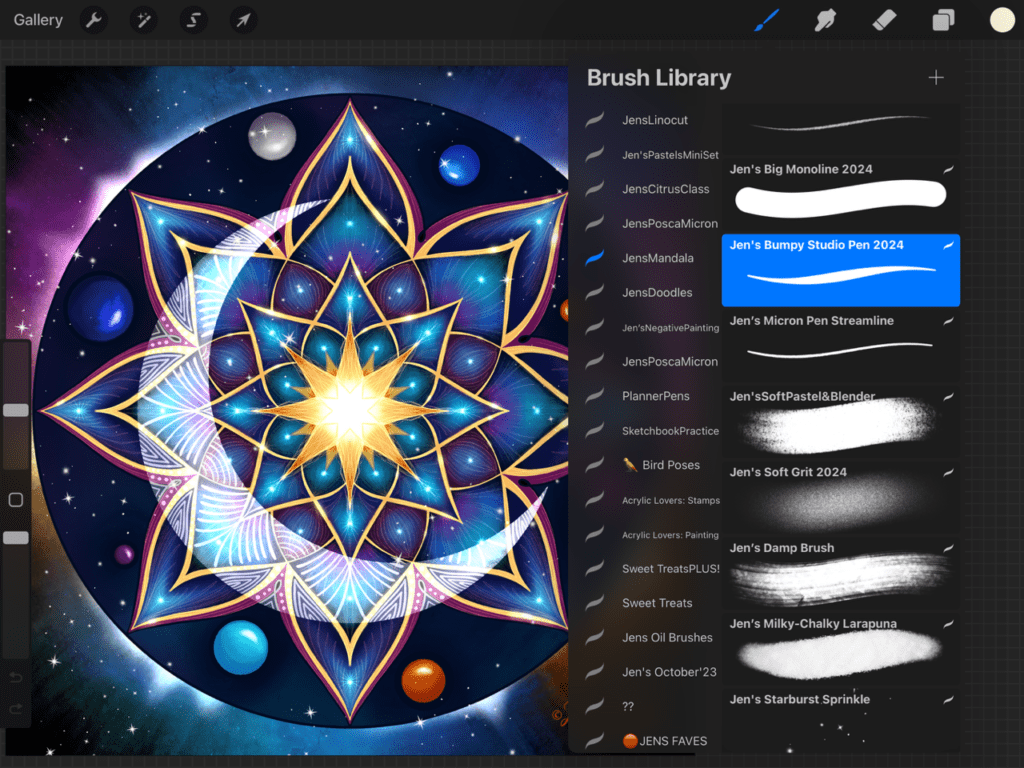
For those who were unable to watch my lesson in Procreate Party, here are some tips to show how I created this.
First, set symmetry to Radial and use a solid brush to create your mandalas. You’ll want to do color fill later, so a nice liner brush is great to have opaque lines. Also be sure to close your shapes so there are no little gaps. I used the Bumpy Studio Pen for this.
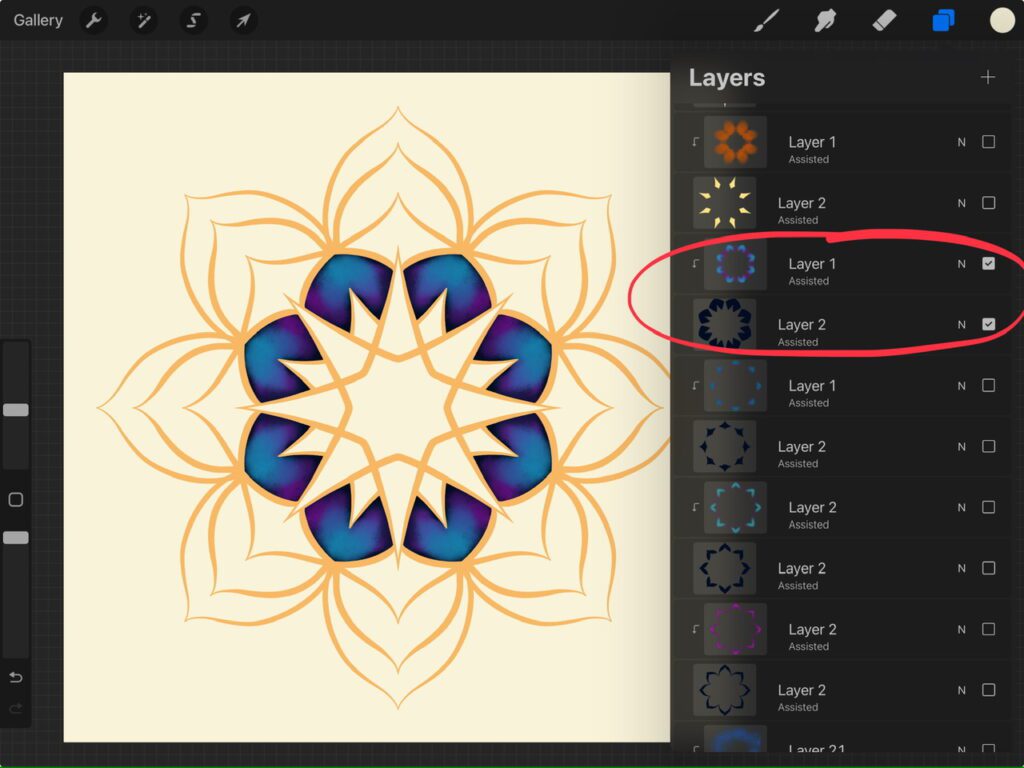
Then, set your outline layer to Reference and add some blank layers underneath it that have Drawing Assist turned on. Now you can drag and drop to one of those new layers as if you’re filling-in each of the spaces of your outline layer. The very first time you drag and drop color, be sure to adjust your Threshold as well. In the image below, you can see the circled area shows a dark fill color for that whole section. Then simply add a clipping mask to it, turn Drawing Assist on for the clipping mask as well, and blob on whatever colors you’d like! Continue doing this for each section! Looking closely at the image, you can see all of the sections and their clipping masks! It’s a nice way to be messy and blobby while keeping it all contained at the same time!
For the moon and the background, look at the Blend Modes I have on those layers below. They are all on the Add blend mode. This helps you get that gorgeous glow (I used my Damp Brush on that background). When you make the moon, if you center the outer ring, then you can apply some symmetry within it and help it blend into the mandala. I also reduced the opacity on those layers, finding a balance where it’s visible while also being one with the mandala.
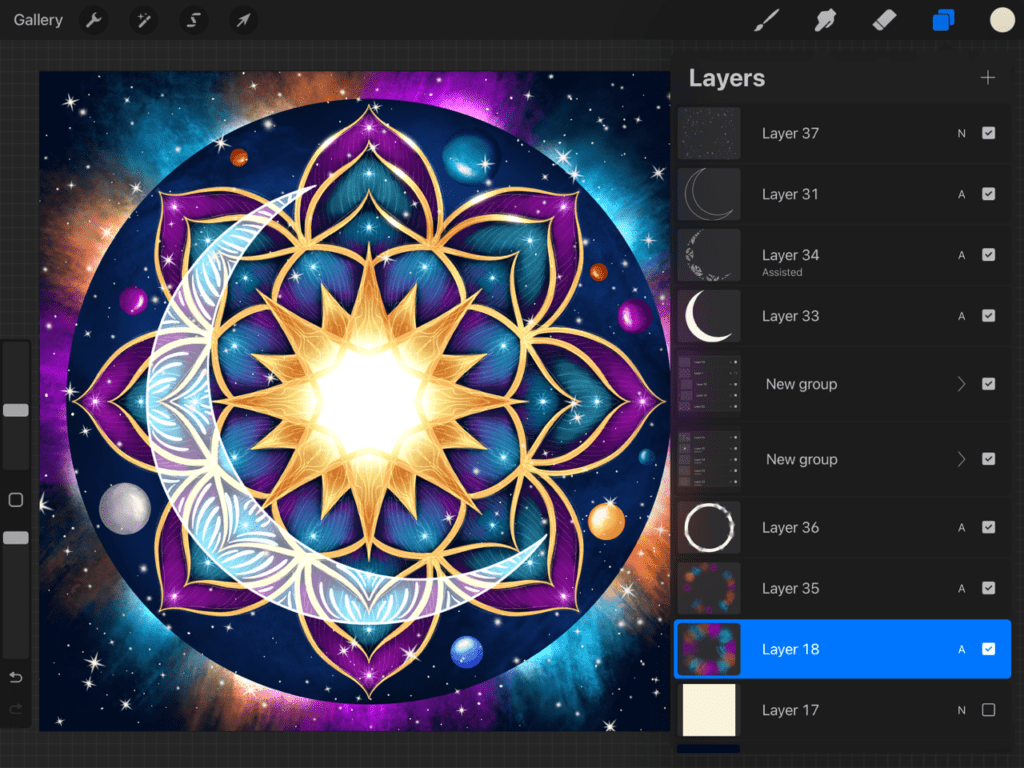
There are more details about the bright gold areas on the outline layer, and adding some squiggly lines on top of the whole thing to loosen it up a bit. But I think this is enough information to get you started with your own experimenting!
More Mandalas!
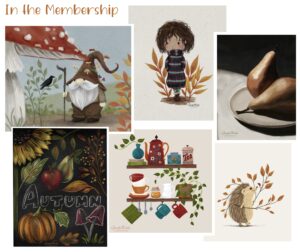
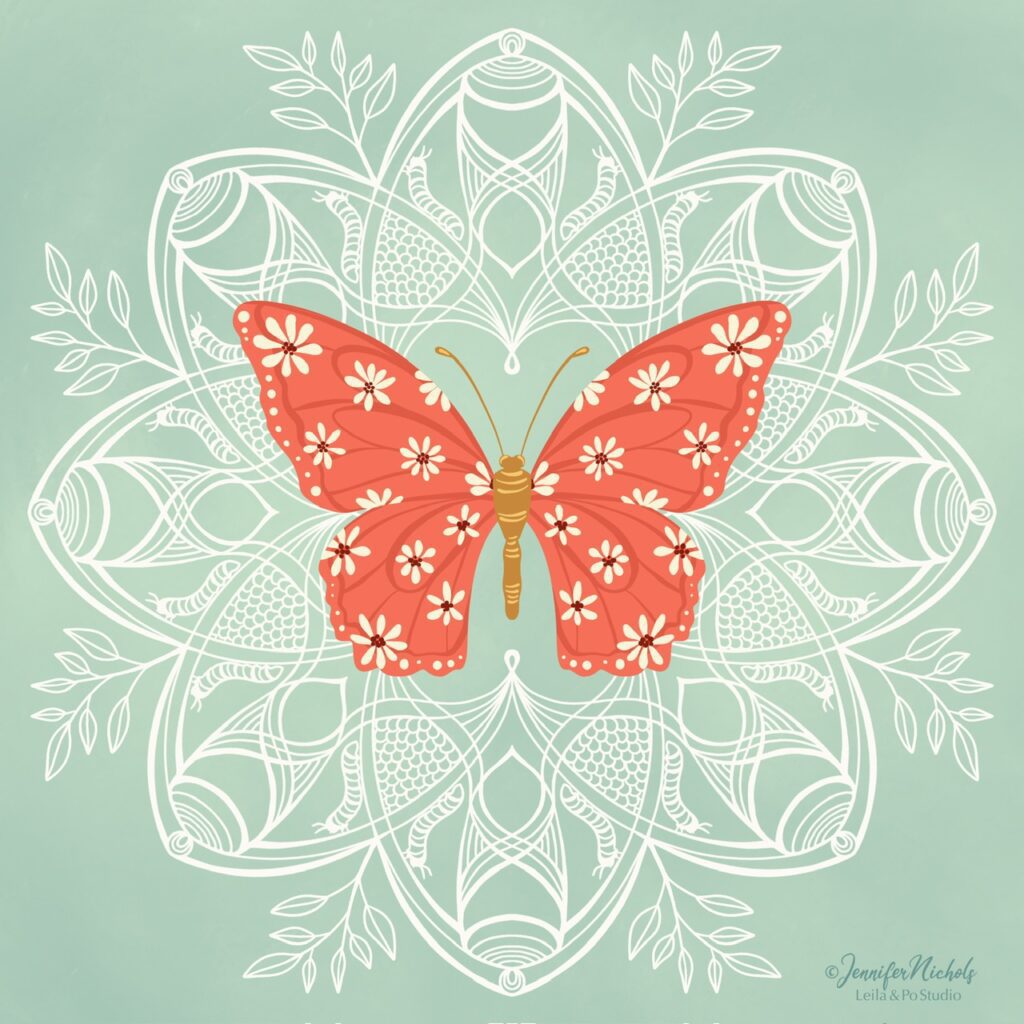
In my membership, not only do you have access to all of my classes, you also have access to live lessons we do each month (and they are recorded)! Here is the butterfly mandala we are about to do in a live lesson (you can find the recording if you are seeing this late). I used the same brushset! It’s very versatile! You can find more information about my membership here. We have a lot of fun in our private community and our zoom calls. It’s the perfect place for anyone who’s looking to learn more about Procreate and enjoy this fun hobby!
While you are over in the Freebies section, don’t forget to grab this beautiful mandala pattern brush! I also added some mandala sketches you are free to use! Look for these two images in the Newsletter Freebies!