Especially as a beginner, it’s difficult to understand the difference between alpha lock, clipping masks, and layer masks. It’s also hard to know when to use them! It gets easier with experience and it also depends on the “work flow” you prefer. So I will explain them as simply as I can, with an example of each. Keep in mind that this post is just scratching the surface!

Alpha Lock
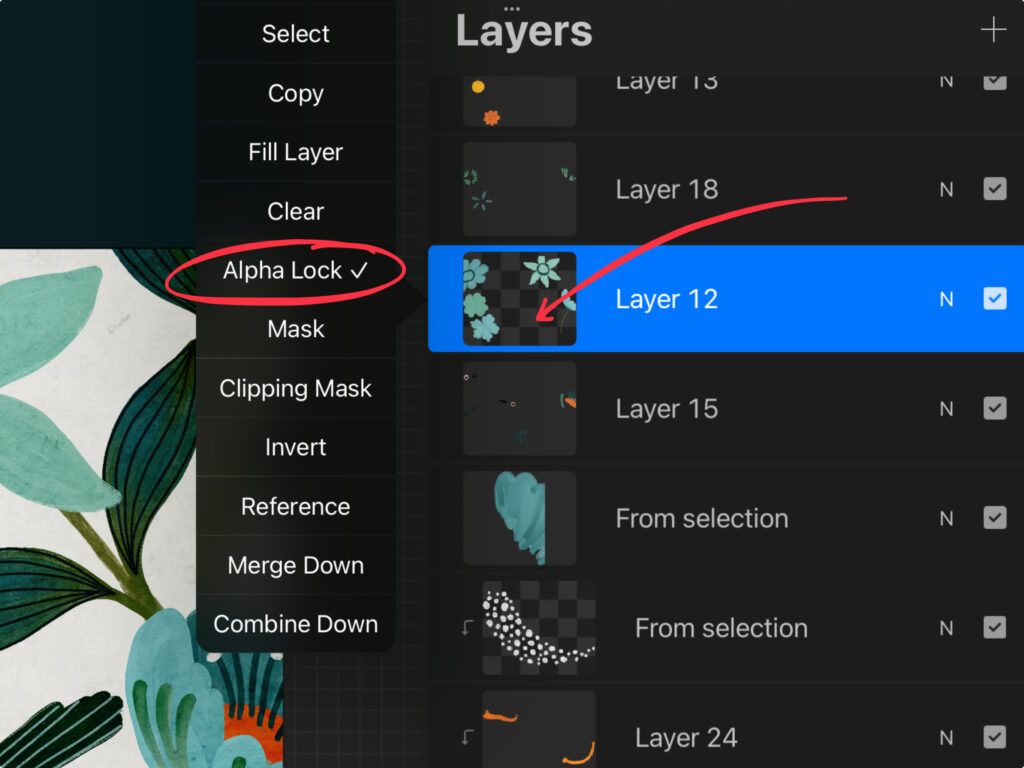
I’m starting with Alpha Lock because it’s the most basic. You lock the pixels that are already on a layer! There’s two ways to activate it. Tap a layer and select/deselect it from the Layer Menu or you can two-finger swipe to the right on a layer. You will see the little checker board boxes in the thumbnail for that layer. You will also see a check mark next to Alpha Lock in the layer menu.
Once you add some “paint” (pixels of color) to a layer, you can alpha lock it so it can be edited easily. This locks the pixels, even the transparency of them and the overall texture! Once a layer is locked, you can do things like select a new color and Fill it. Or you can swipe over it with a variety of colors and brushes but the only things that are affected are the pixels that already exist on that layer! This can be seen below where I change the color of the lines on the flower (those lines are on their own alpha locked layer).
Alpha lock doesn’t use any extra layers but it is “destructive” since you are changing the color of the original pixels you had on the layer. That means, if you change your mind later, you have to redo what you originally had. For that reason, I use it for things that are relatively simple to redo!
Clipping Masks
Clipping masks are new layers that are attached (clipped) to a layer below them. We will call the lower layer the Base Layer. When you paint something on a clipped layer, you can only SEE the areas that are directly on top of the paint that is on the base layer.
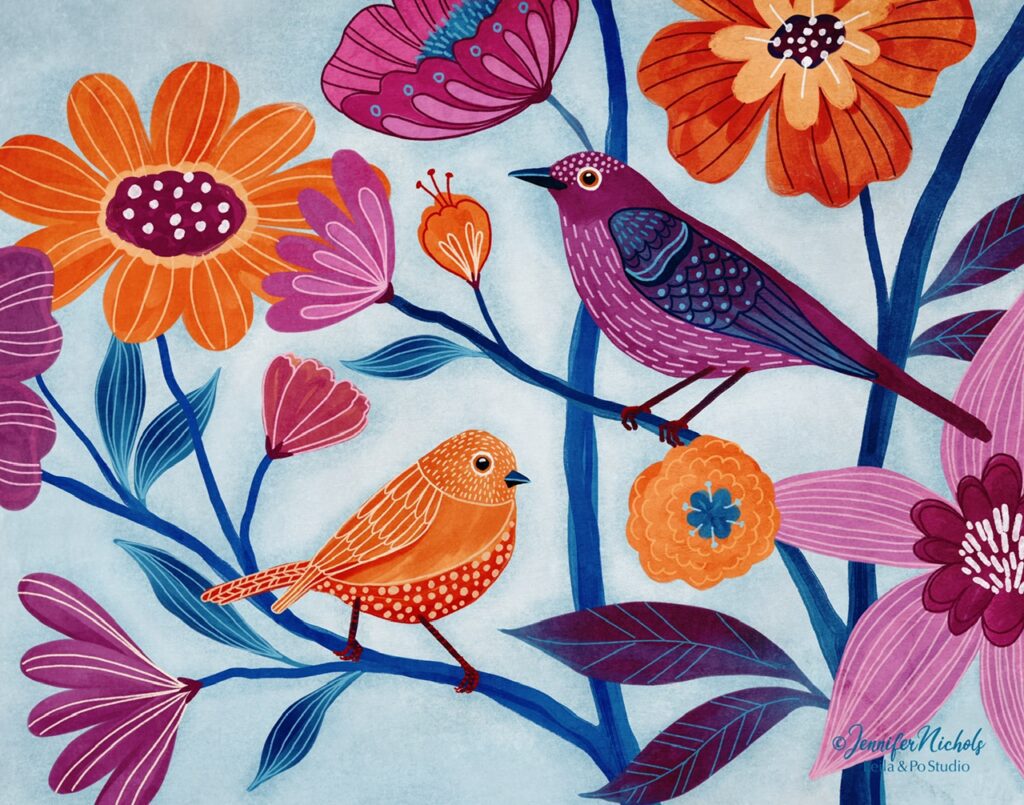
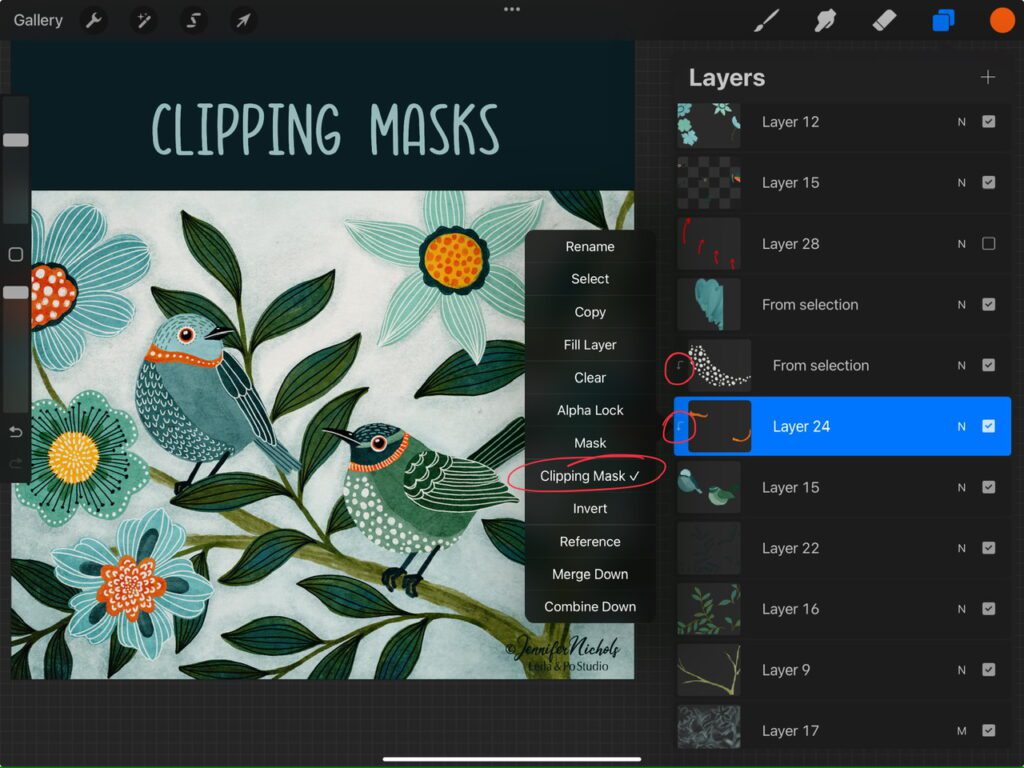
To turn a layer into a Clipping Mask, tap on the layer and select Clipping Mask from the layer menu. You will see the little down arrow on the layer. The image below shows two of them. You can have as many as you want but all of them are clipped to the same base layer. In this example, the bird color is the base layer. One clipping mask has the orange stripe on the neck of the birds. The other clipping mask has the spots on the belly of the green bird.
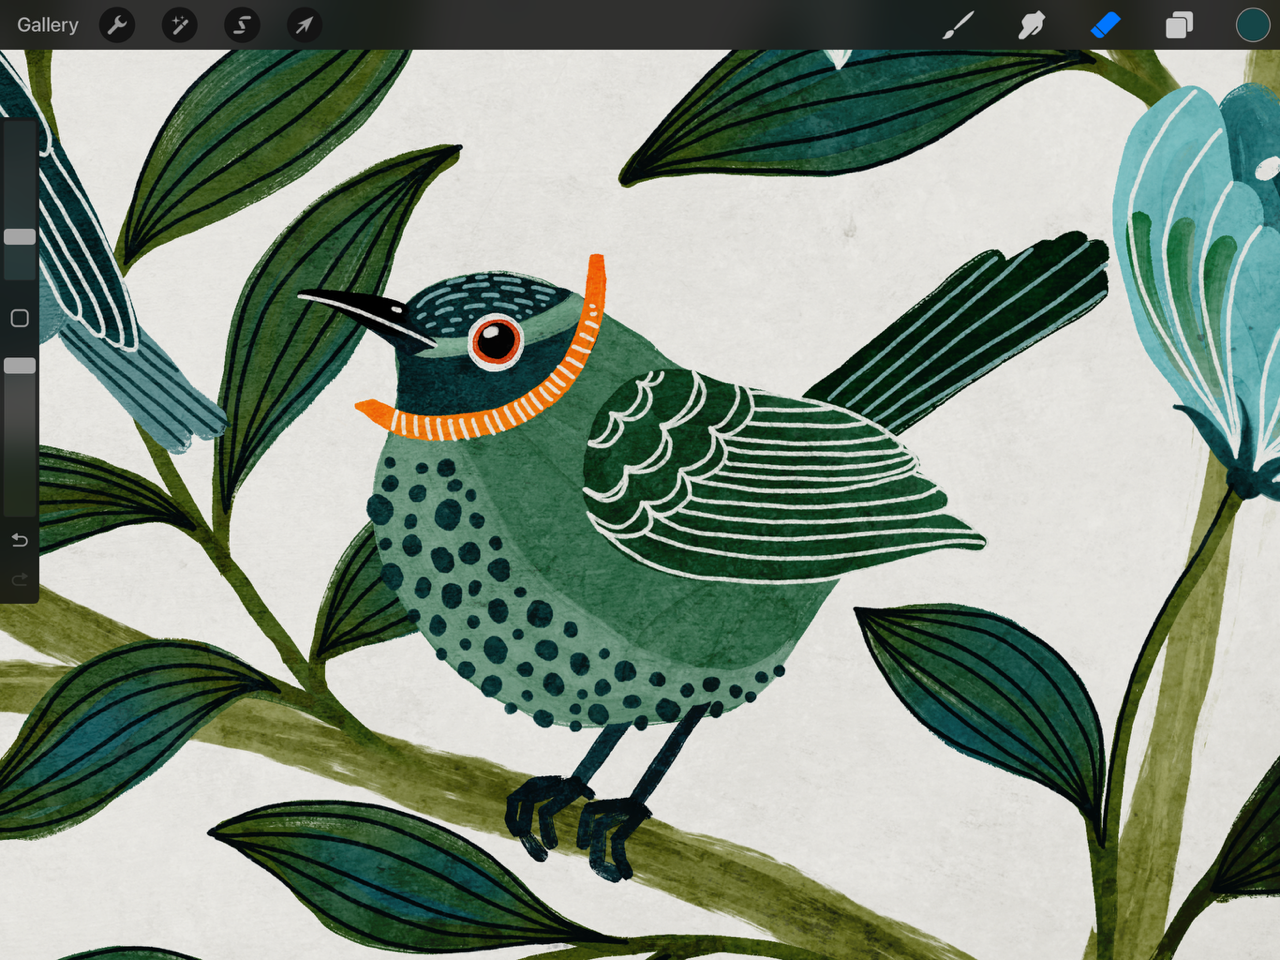
Both of these layers allowed me to “color outside the lines”. The part that is outside the lines is not seen because the only paint that can be seen is the paint that is directly on top of the birds themselves. Below, I have “unclipped” them so you can see that the paint really does extend past the boundaries of the bird itself.
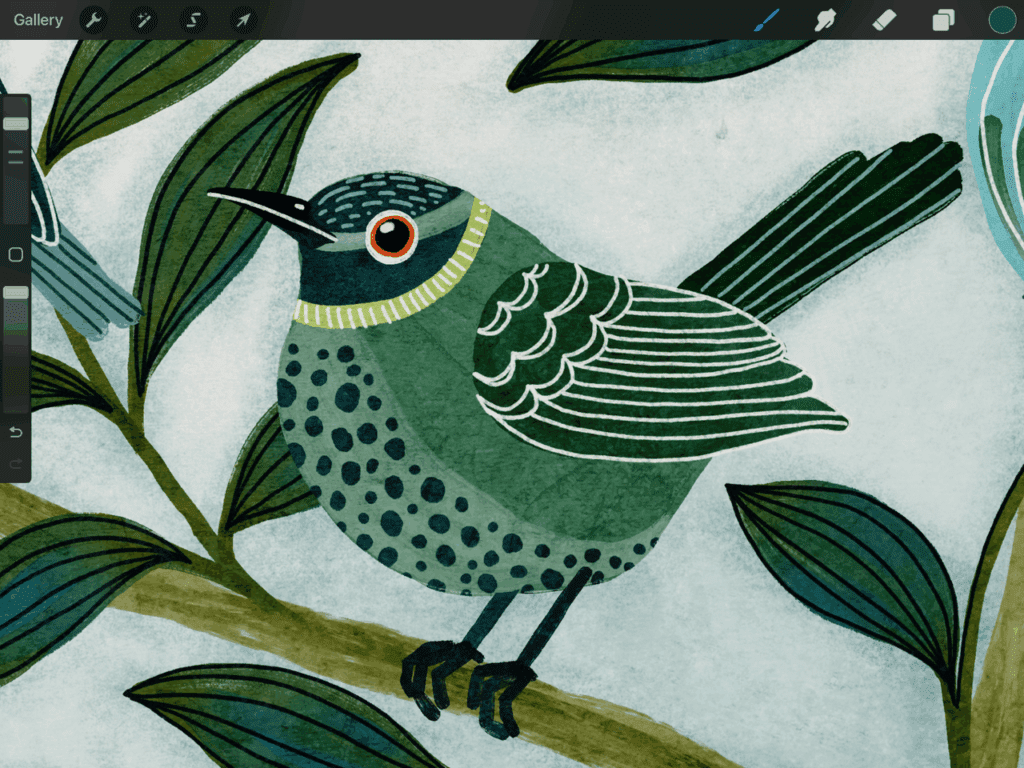
See how I can move the spots around and they are only visible when they are on top of the bird? Clipped!

This is a huge perk because now I can change the color of the belly spots and the neck stripes without changing any other bird colors. I can even alpha lock those clipping masks in order to make those changes! I can also play with the opacity and blend modes of those clipping masks since they are their own layers. But, as you can see, more layers are used and currently, we have some layer limits in Procreate so that is a potential problem!

To me, it’s worth it to use the extra layers! And this is a “non-destructive” way to edit things since I have not had to change the main bird layer!
Layer Masks
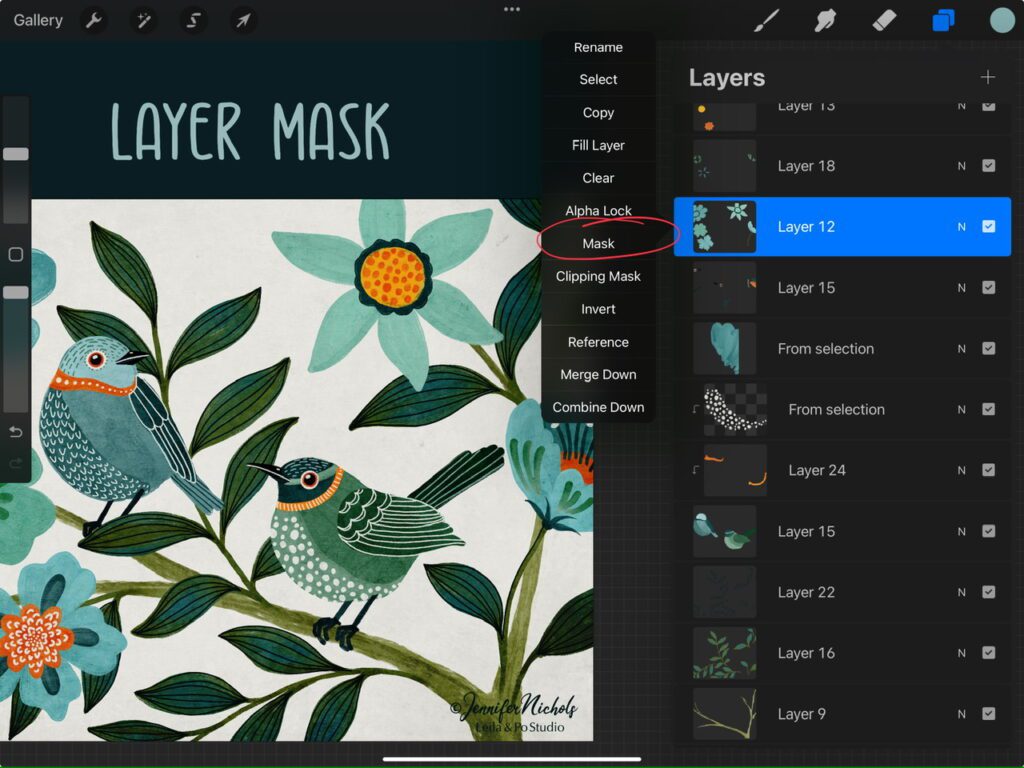
Finally, it’s time to discuss layer masks. Honestly, I use this option the least! Think of it as “masking” something. It can look like you are actually erasing without erasing! Activate it from the Layer Menu just like the others, but it just says Mask. Selecting it will attach a layer to the layer you are currently on.
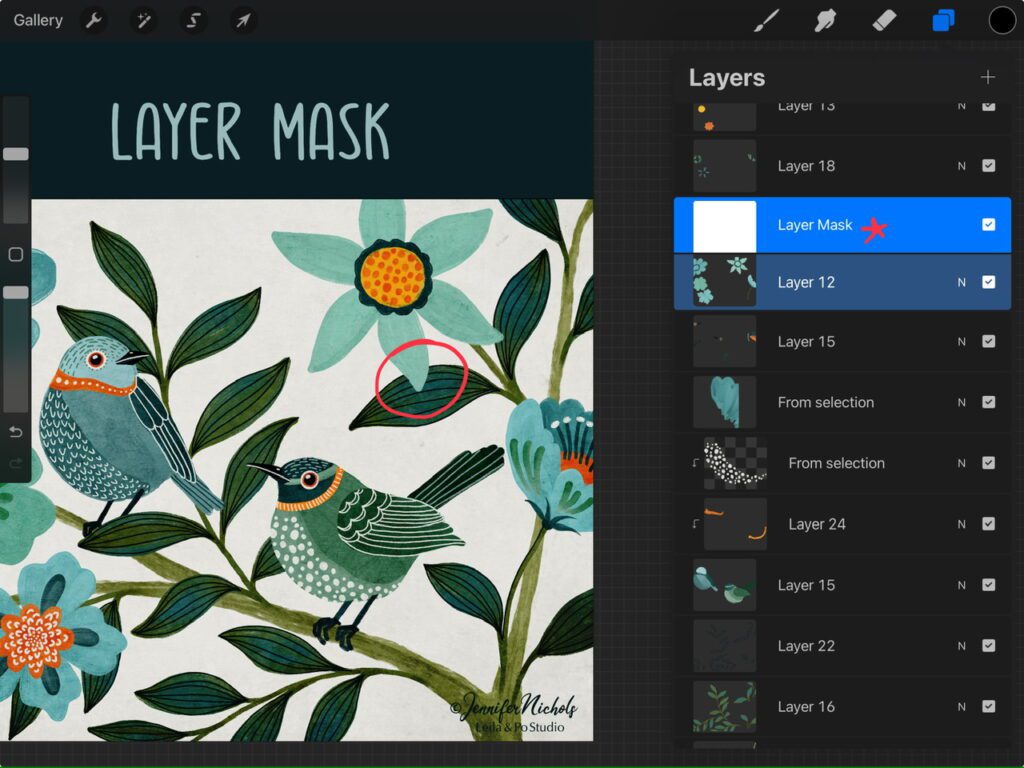
I am going to focus on the spot where this flower petal overlaps the leaf. I am thinking about having the leaf look like it is on top of the petal. So I could just erase the part of the petal that is covering the leaf but what if I change my mind later and I want that petal to go back to how I originally had it? Well, I can paint with black on that Layer Mask layer and it will look like I am erasing! If I want my petal back, I can paint again on that layer with white to bring it back, or I can delete the layer mask!
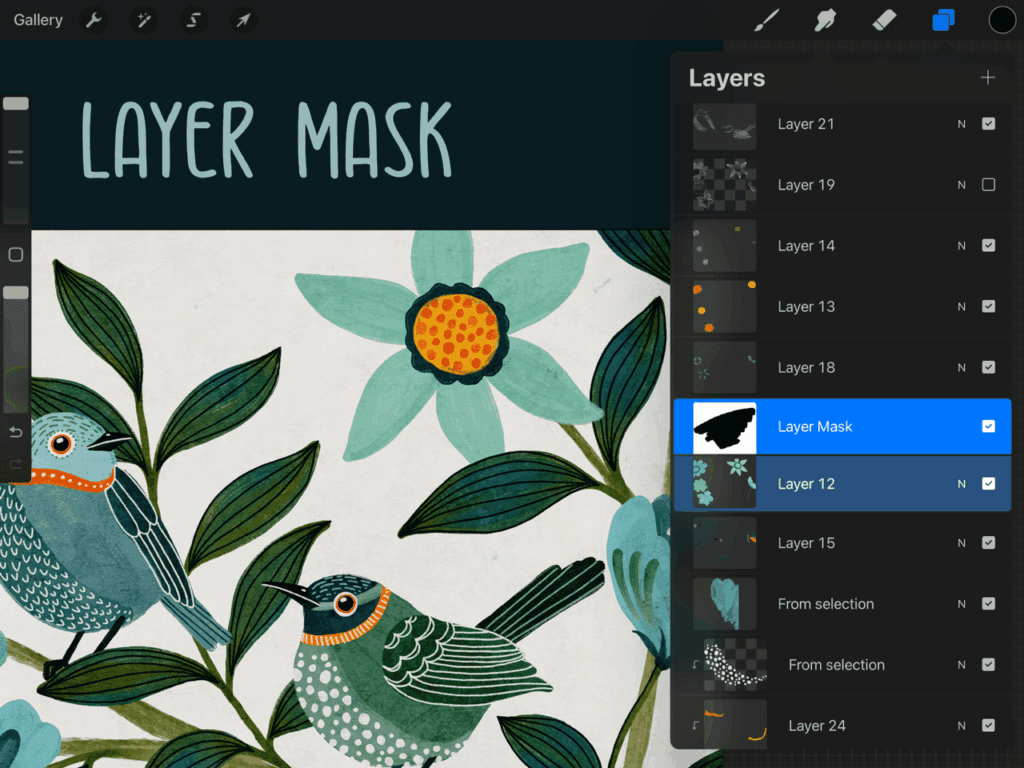
You can see the Layer Mask has black on it now. That is masking, or covering up, the part of the petal that overlaps the leaf. Now the leaf looks like it’s on top! I actually prefer it the other way so I will delete the layer mask and my petal will be visible again!
I hope this helped explain the differences between these three features! If you need a video to help you understand it even more, here is a YouTube lesson! Of course, in my illustration classes in my membership we use these sorts of features as well! Practice is what will help you truly remember all of these details!
If you like these bird paintings, I have a class in my membership called Folksy Birds & Fantasy Florals where I teach you how to get this lovely painty gouache look with the brushes that come free in class!