Have you ever looked at a photo and thought, That would make a great brush? With just a few simple steps, you can turn your own photos into unique Procreate stamp brushes that add depth, texture, and magic to your digital art. Especially in abstract work, these brushes can become your secret weapon when paired with blend modes! Here’s how to prep a photo and transform it into a custom brush 100% in Procreate!
Adjust The Photo Like This!
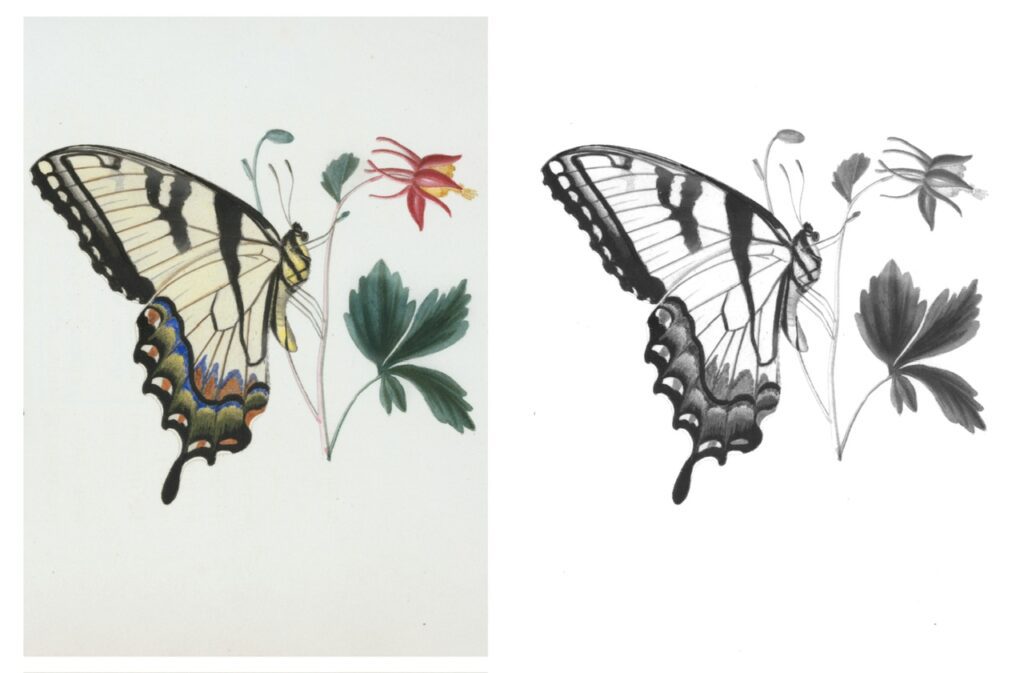
You can use your own photos or find free-use images on sites like Unsplash.com. Be sure to look for images that don’t have a cluttered background. Bring one into a square canvas (I use 12″ x 12″ at 300dpi) and use Hue/Saturation/Brightness to desaturate it.

Next, go into Curves and slide the top right node over to lighten the background until it’s white. Remember, we use black and white images (and gray) for brush-making.

You can also add another node by tapping the line and adjusting the contrast depending on your preference. With plenty of experimenting, you will grow to prefer lighter grays or darker grays, depending on what you like using these brushes for. The darker something is, the more color the stamp will have in those areas. The lighter grays will be more transparent when stamped.
Now you have your Shape to make a stamp brush! You can read all about making stamp brushes here!
Here’s a before and after of this cute butterfly image:
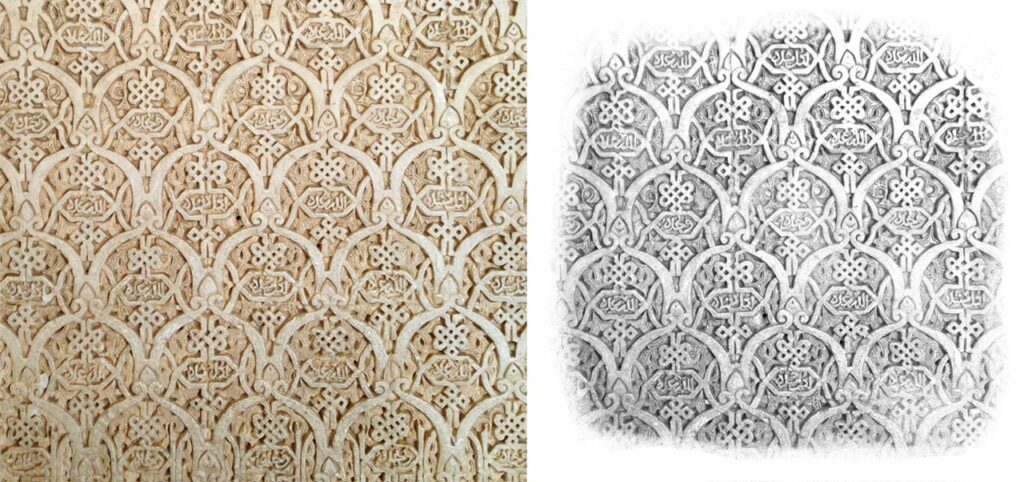
And you can also use this technique for cool textures! I like to erase the edges a bit but it’s not necessary.
Using these Stamps
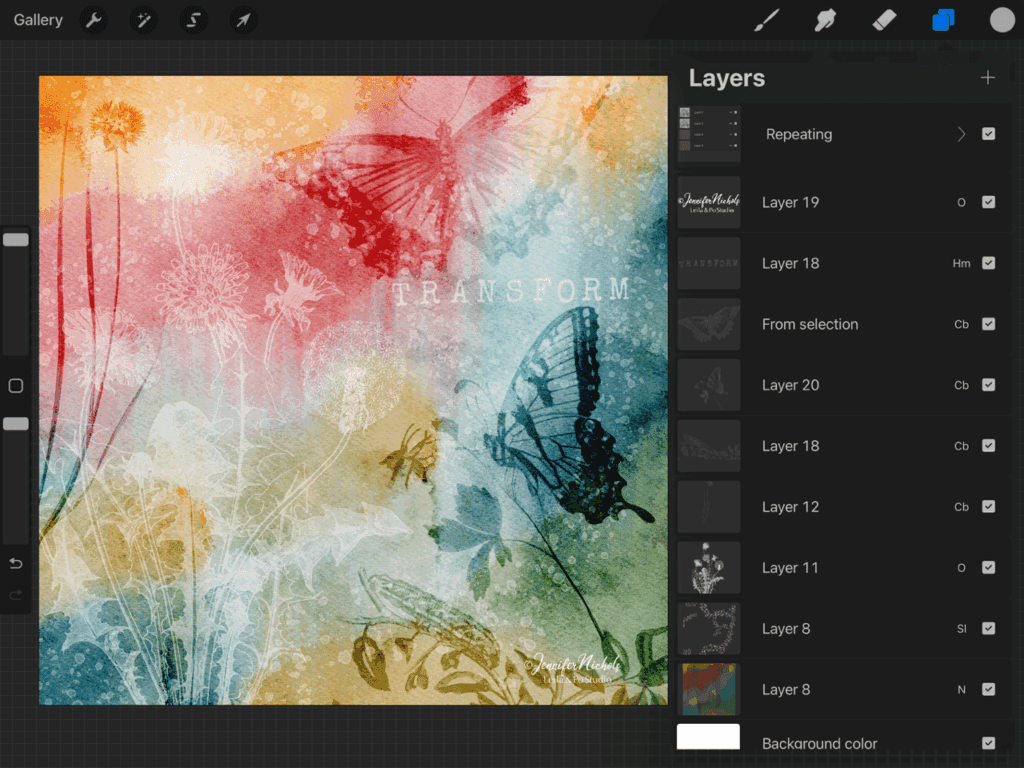
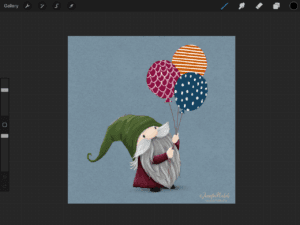
It’s an excellent time to experiment with blend modes! I usually use these stamps with grays or whites and cycle through blend modes to see the various effects they give. Adjusting opacity on each layer is also a good plan! You can see the various layers and blend modes I’ve used below.
Your Free Brushes and Procreate Canvas
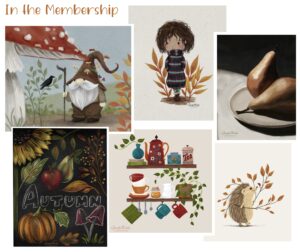
The canvas, smudgy brushes, and letter stamps I’ve used above are all in The Pixel Pantry, where my newsletter freebies are stocked! While these particular butterfly and plant stamps are not freebies, there are some others you will find if you scroll back to the older freebies! And of course, with the tips in this post, you can make your own!
Here are the freebies you want to look for once you get access to The Pixel Pantry. Simply sign up for the newsletter and your Welcome email should have the link and the current password in it!
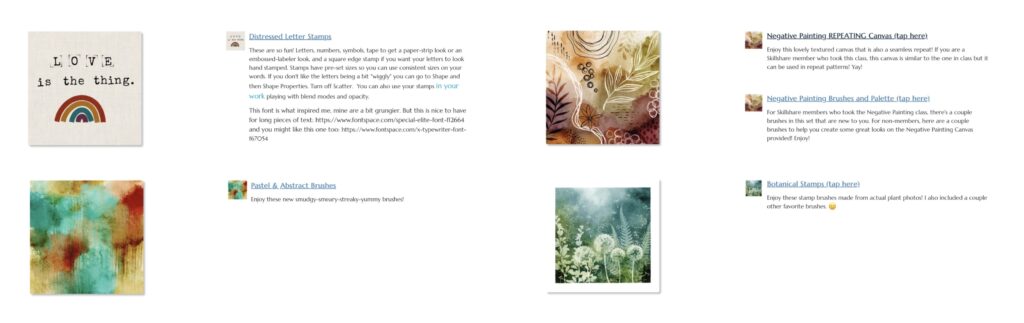
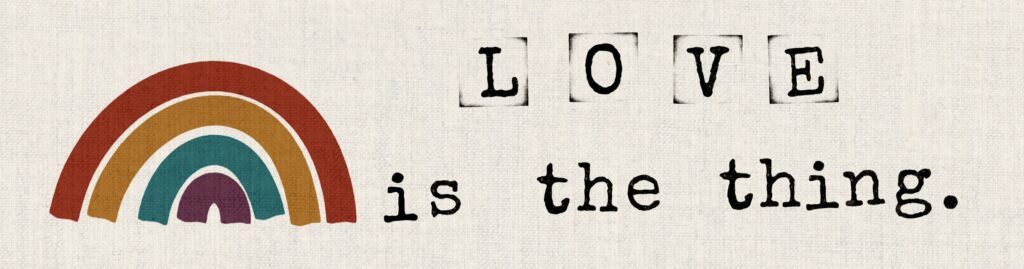
These letter stamps are quite fun! You will see two brush sets, one with letters and the other with numbers and symbols. That second set also has a “tape” brush that can be used like strips of paper, and the square edge brush to make it look like you used an inked stamp!
Some YouTube Lessons That Might Help
This lesson shows you these steps in the first 3 minutes of the video.
Here’s a bit about the abstract brushes and canvas:
And in this video I do play with botanical stamps and blend modes!


6 thoughts on “Photos as Brushes? Yes, and They’re Gorgeous!”
Hi Jen! This technique is exactly what I was looking for! Thanks so much for your clear instructions and creativity!
Hi Kelley! I’m glad it was helpful!!!
I’m excited to try this. I did not ever think of using these as brushes. Thanks for the how-to and easy instructions, plus the resources. Always appreciate your tutorials in blog or video — they allow us to move forward on our own! Thank you!
Thanks Sheri! I feel like it opens up so many doors! We will forever see images differently now!
Hello Jennifer! Great technique, thank you for the very clear instructions and inspiration!
You’re welcome Camille! Have fun making brushes! I bet you have just a few photos of your own that would work 😉
Comments are closed.