Patterns are usually used for fabrics and wallpaper and people actually like them with a faux texture added! The trick is, that texture needs to be seamless also! I have a class on making seamless textures for Procreate texture brushes and those textures can be used on your illustrated patterns as well (although I would make them on larger canvas sizes than I do in the brush class). There are lots of tricks for making images of textures seamless. It’s far too much detail to go into here! But I will give you the basics!
First, find good quality, free-use images. I use Unsplash and Pixabay. I bring the image into Procreate and desaturate it so it’s gray, sometimes I brighten it too. And you can play with Curves to adjust contrast, etc. You want it as uniform as possible, meaning if one corner is darker than another, it will be more challenging.
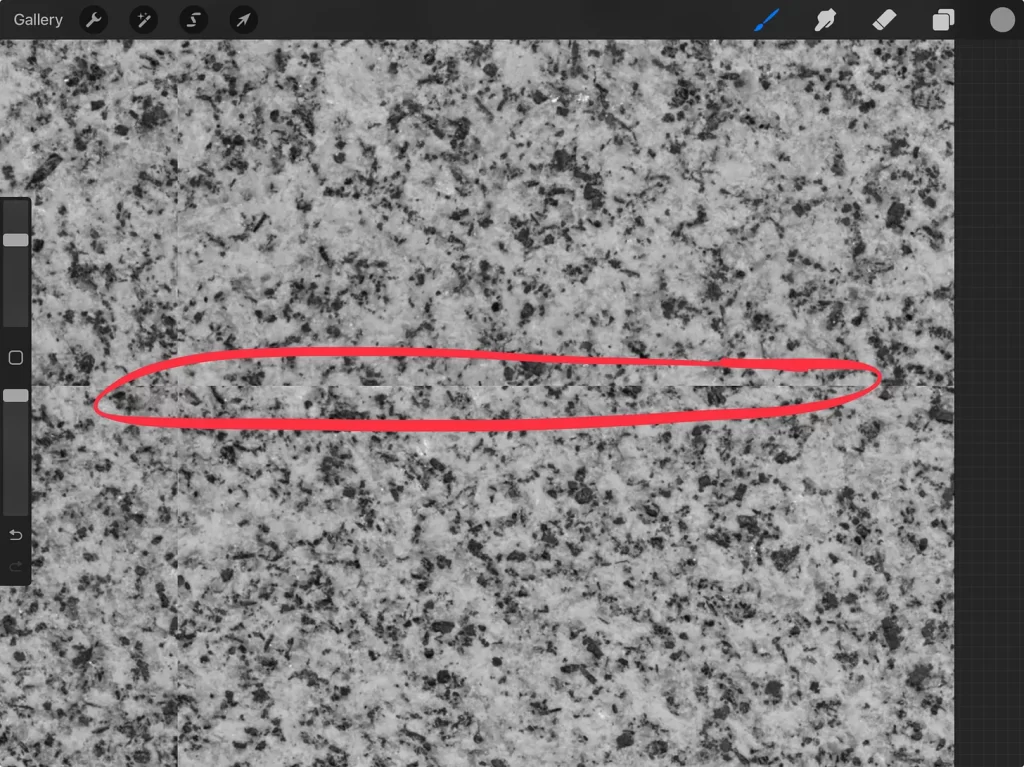
Then you duplicate it 4 times and move them to the four corners just like you do in the first stage of a basic repeat pattern (moving full size layers, not shrinking them). This step makes the edges seamless! You will see the center vertical and horizontal lines do not match up. This is what you will want to fix.
I talk about using the clone tool in this post. That’s what I do to fix the seams in the textures!
When you use the clone tool for seamless textures, some textures are more tricky than others. Admittedly, this example is super simple. Be careful with the clone tool as you get to the edges of the canvas as those are actually seamless now, you don’t want to mess with it. See the seam disappearing??👇🏼 Once you take care of your seams, you are done!
I’m not going to lie, this process is not everyone’s cup-o-tea and can be very time consuming…so I made some for you! I have 12 new free seamless texture patterns for my newsletter subscribers which you can grab right now! Once you sign up, your welcome letter will have a link and password. I think if you scroll back to some older freebies, you will find others as well. So. Many. Freebies. 🤗
How do you use these seamless textures?
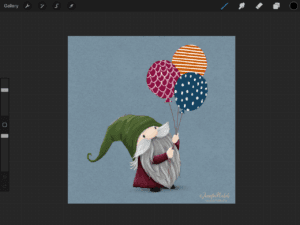
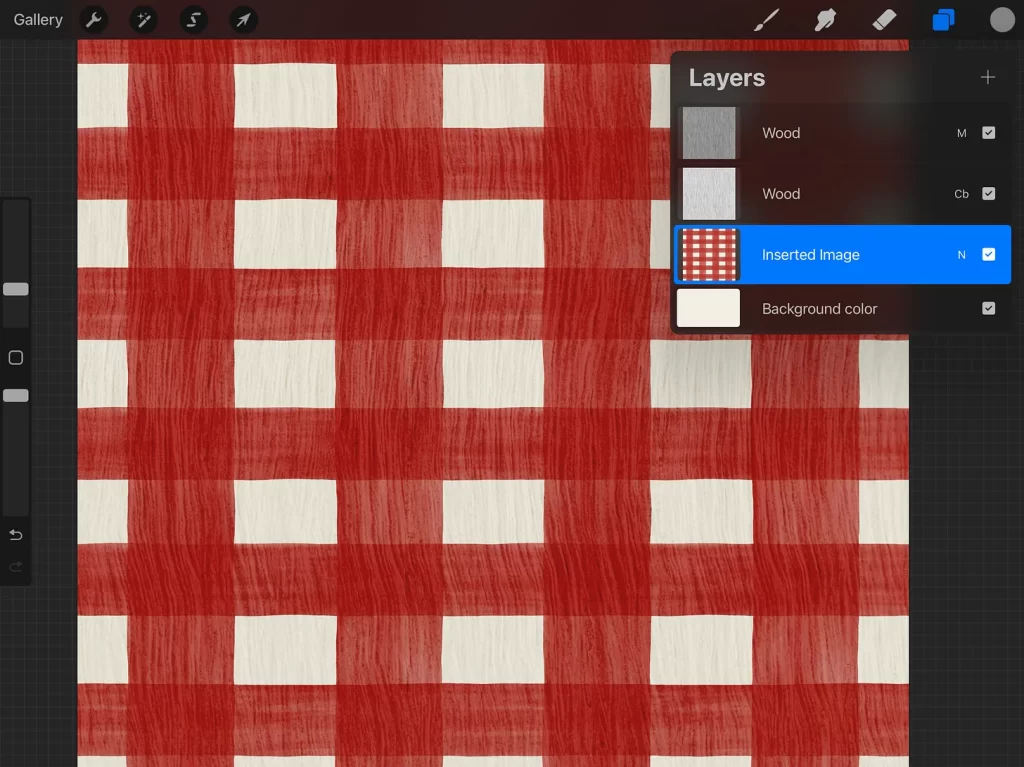
You can add them on a layer above your work and play with blend modes and opacity! As with all things, experiment and find your own preferences but I like to duplicate the texture layer and have one set to Multiply (with really low opacity) and one set to Color Burn! You can also see in this image that I brighten and darken those layers sometimes. It really depends on the image you’re using, how deep or pale the colors are. It’s not a one-setting-fits-all situation. 😉
Make texture brushes!
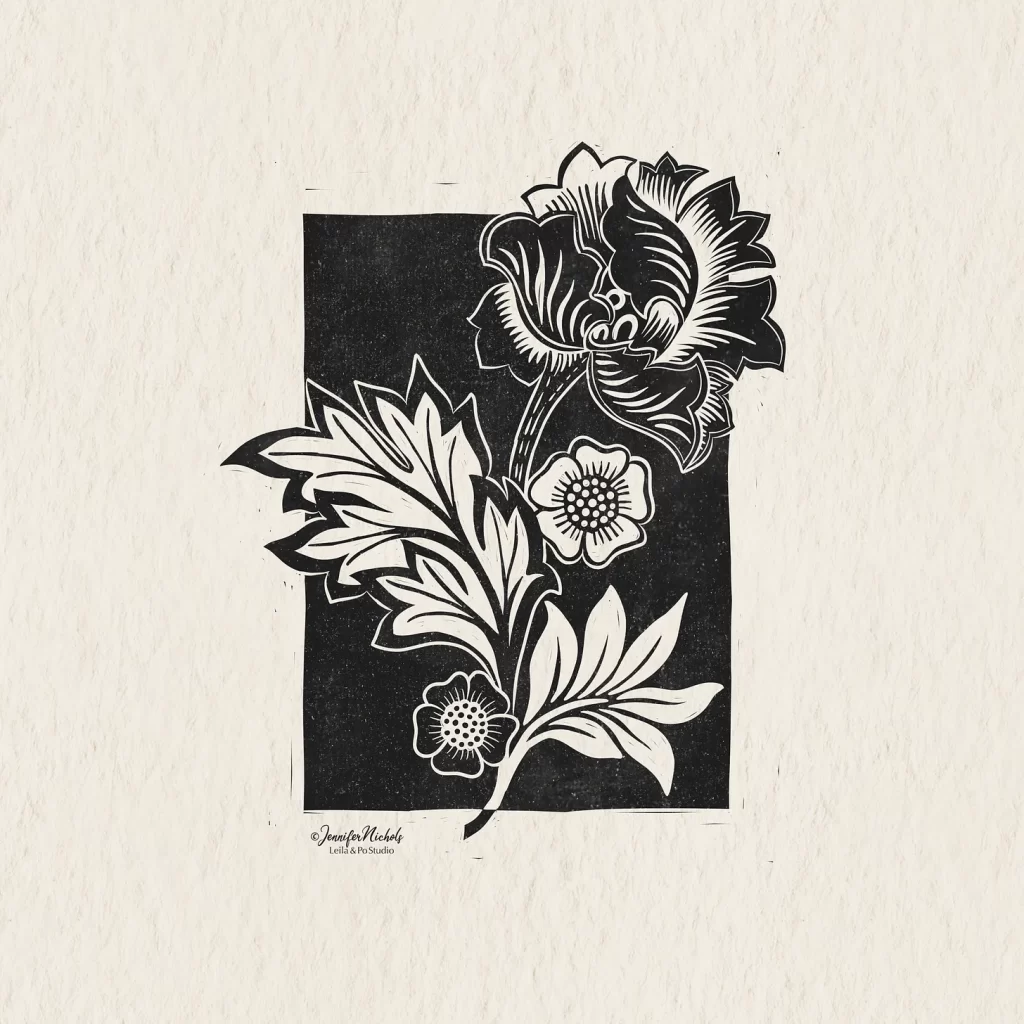
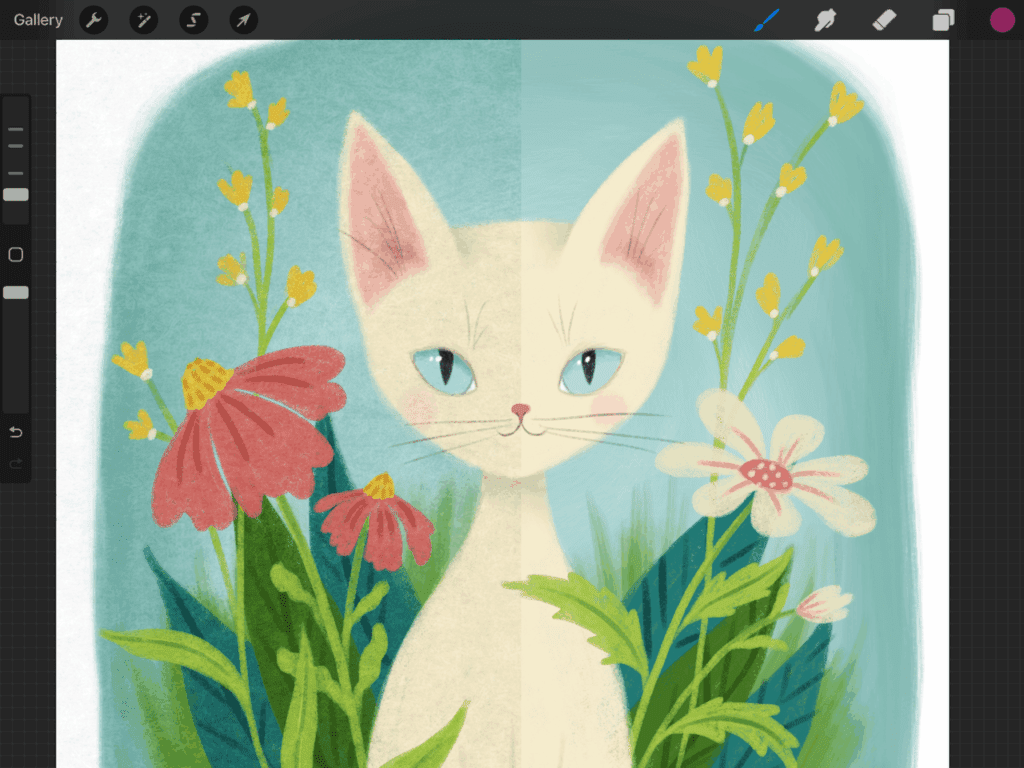
You can also use these on non-repeat patterns to give a unifying overall texture to your illustrations! I use the seamless textures to make canvas texture brushes to add texture to illustrations like this. In fact, I just made a full set of canvas texture brushes for my membership. The nice thing about the brushes is you can use them to fill any size canvas! I use the same process with brushes as I do with the textured image layers. A multiply layer and a color burn layer, using a mid-tone gray for the brush itself, swiping it all around the canvas in one stroke. There’s a YouTube lesson at the end of the post.
This is what the wool texture brush looks like (wool is one of the seamless textures in the freebies).
I hope you enjoyed learning about seamless textures but even more, I hope you have fun using them!
-Jennifer Nichols
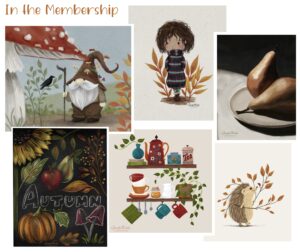
If you enjoy my lessons or my illustrations, please know that I teach all of it in my membership and I just reduced my prices in honor of a few things: the 3rd anniversary of my membership and the economy are my main reasons. I hope my prices make the membership more accessible to folks. Come join us! I have a private community that is not on social media! I’m a trained, experienced, retired Montessori teacher…I know I can help you have fun with this amazing hobby.