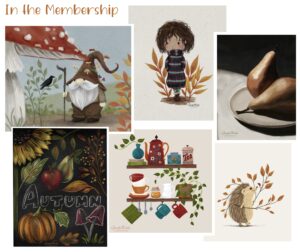
Would you like to learn how to make stamp brushes in Procreate? Many people would call stamp brushes “assets”. I hear it all the time “How to build your asset library.” Personally, I feel like the word asset doesn’t really fit with this joy-filled hobby, it sounds like a work term, too corporate maybe? 😉 But I do find them quite valuable in many ways! Typically, I use them in my sketches, then I turn that layer off so it isn’t in my final illustration. Here are a few examples!
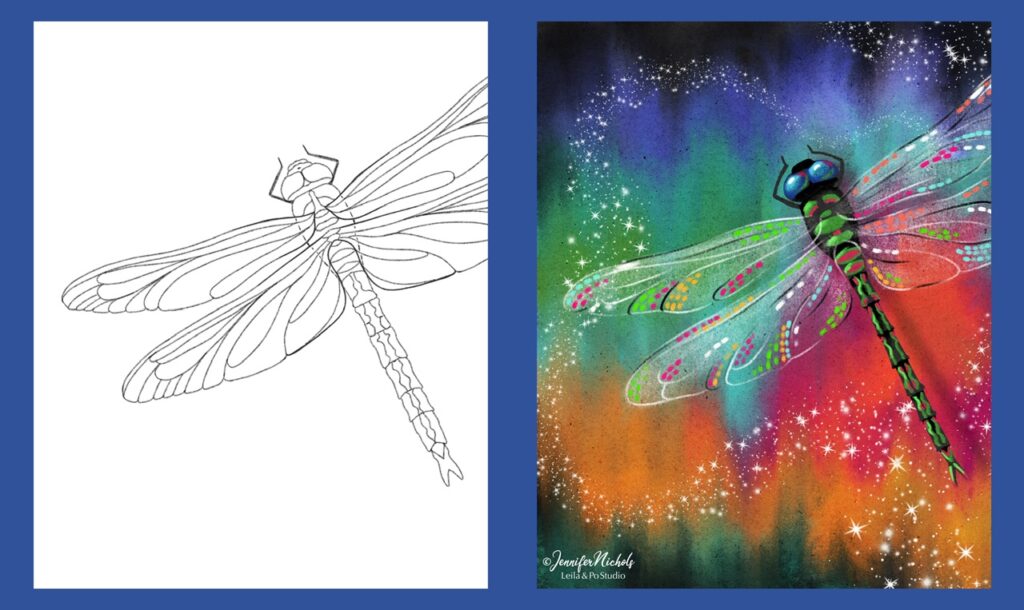
I love this dragonfly stamp and it’s perfect for a beginner-friendly lesson when learning Procreate! Find the lesson on YouTube here!
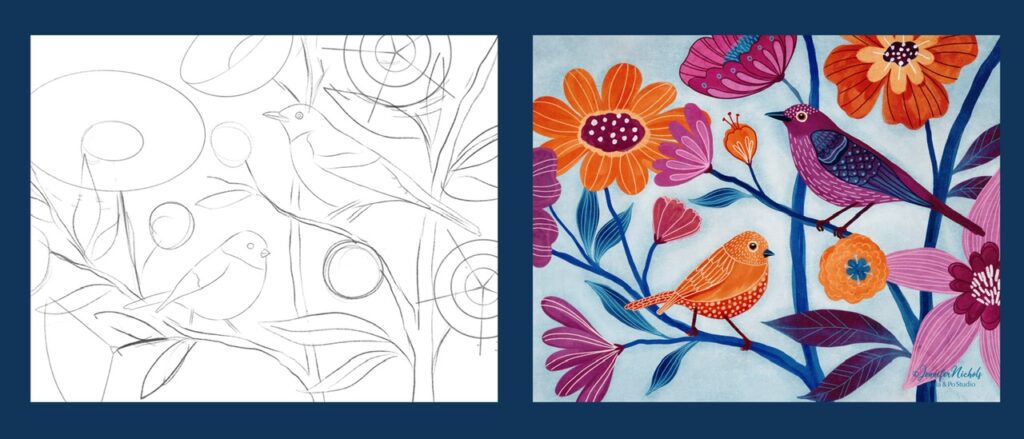
A very rough sketch along with stamps for the flower-layout and birds. I made these stamps so it’s still my own art! This gouache lesson is one of the classes in my membership!
Here, I used a luna moth stamp and drew the rest of it on my own. It’s one of the few times I used symmetry for the entire illustration!
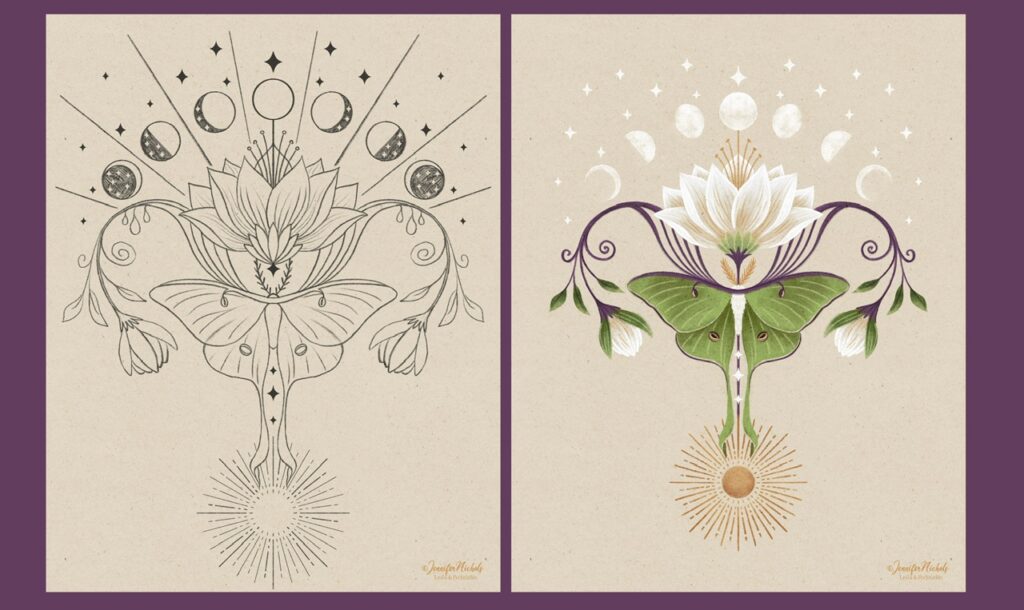
Here are a couple more examples along with the stamp brushes. The Luna Moth stamps are a newsletter freebie from way back at the start of my freebies! You are always welcome to go grab them by signing up!
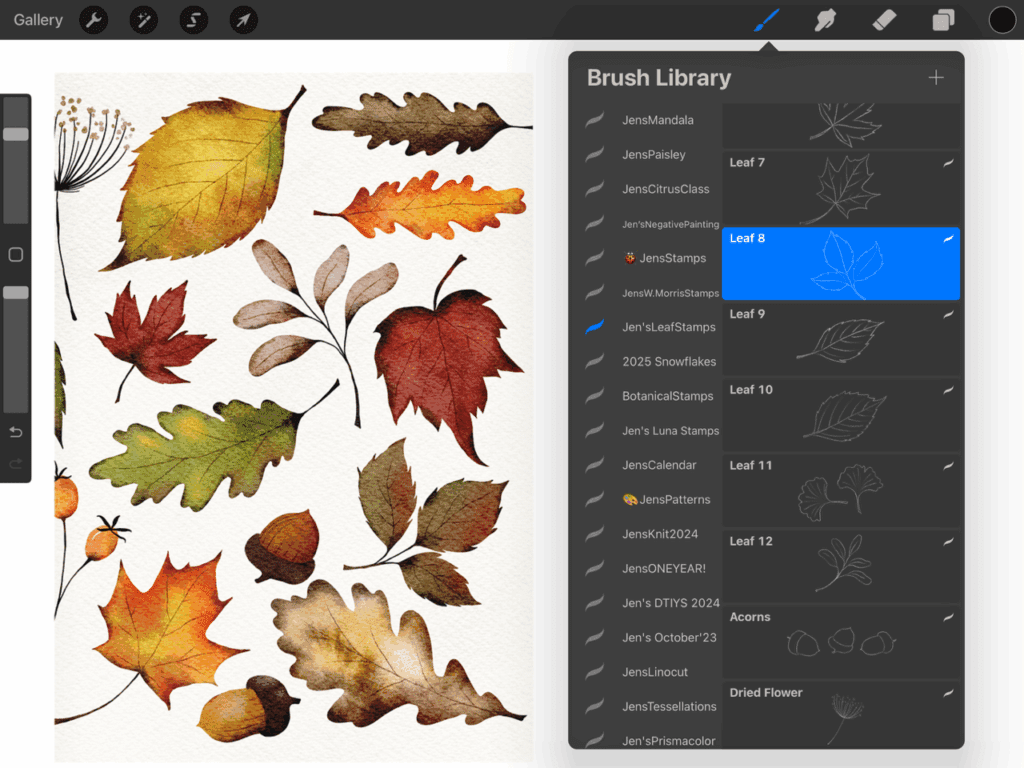
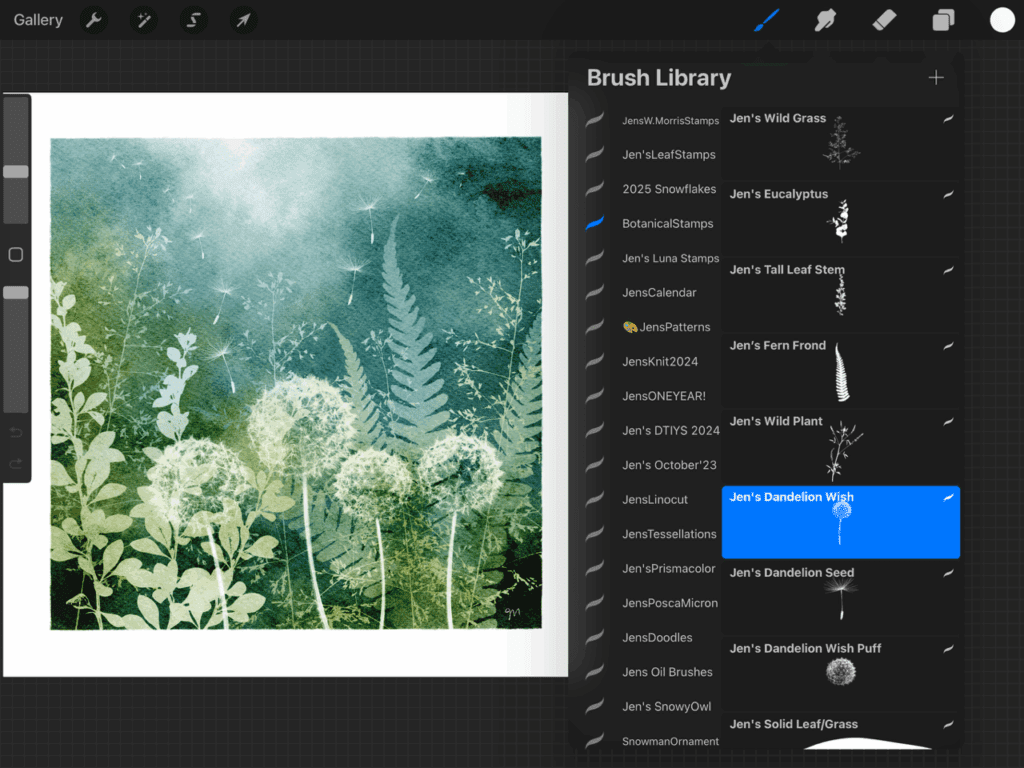
Another way to use stamp brushes is to keep the stamp in the final art! These botanical stamps (also newsletter freebies!) were perfect for this negative painting watercolor class I have! I made these stamp brushes with photographs of plants.
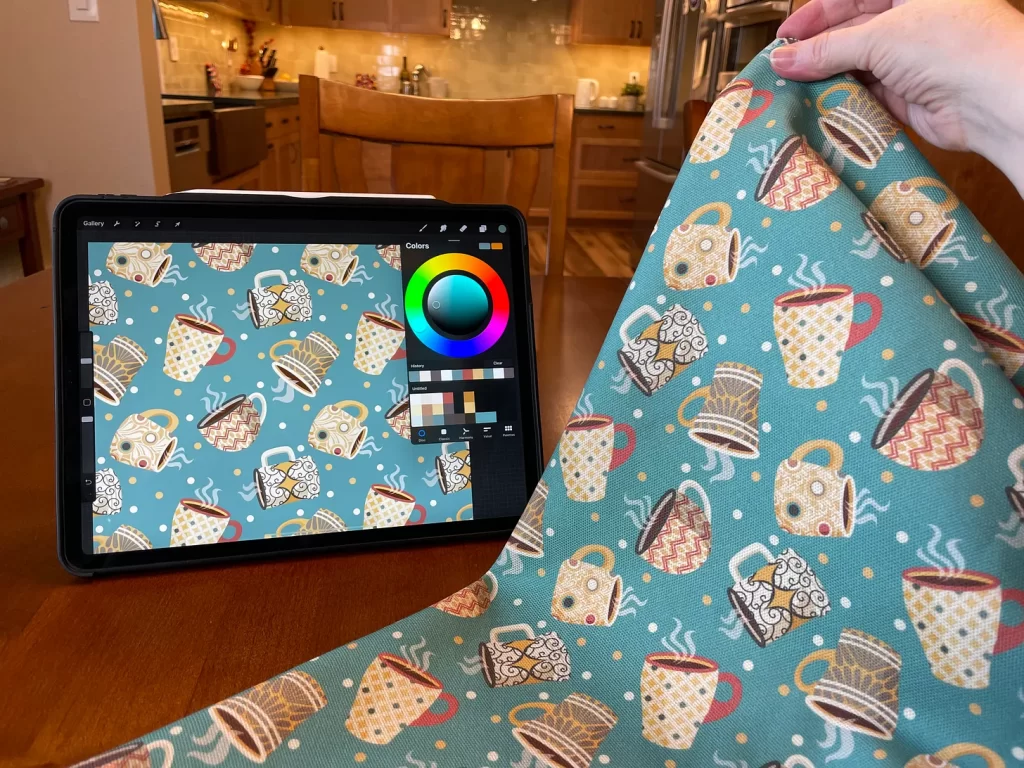
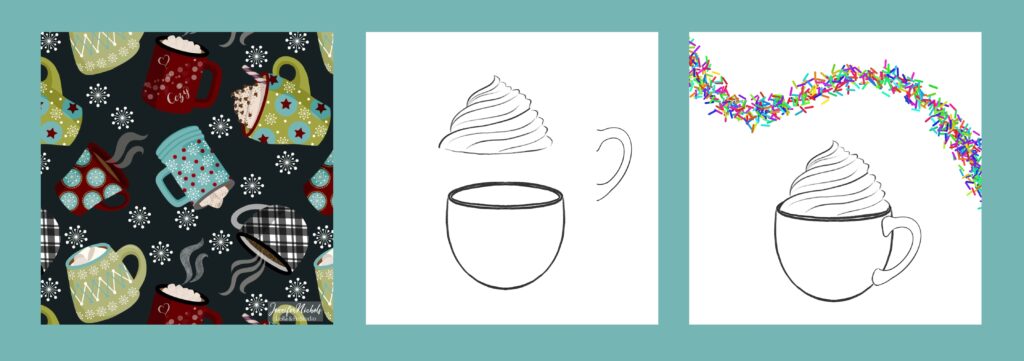
Finally, here you can see I made cute, fun stamp shapes to stamp right onto the mugs! This is one of my very first brush-making classes but let me give you the basics so you can get started making your own!
You might recognize the stamped mugs here!
Make Your Own Stamp Brushes
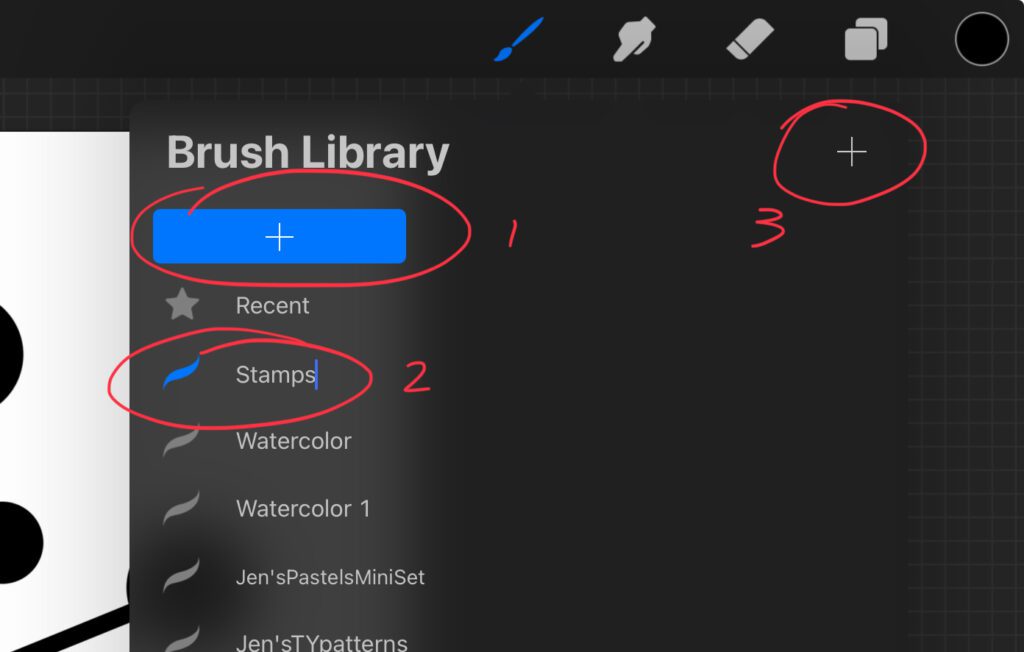
To get started on making stamp brushes in Procreate, go to the top of your brush library and tap the plus sign to add a new brush set, name it, and tap the plus sign within that set to create a default brush.
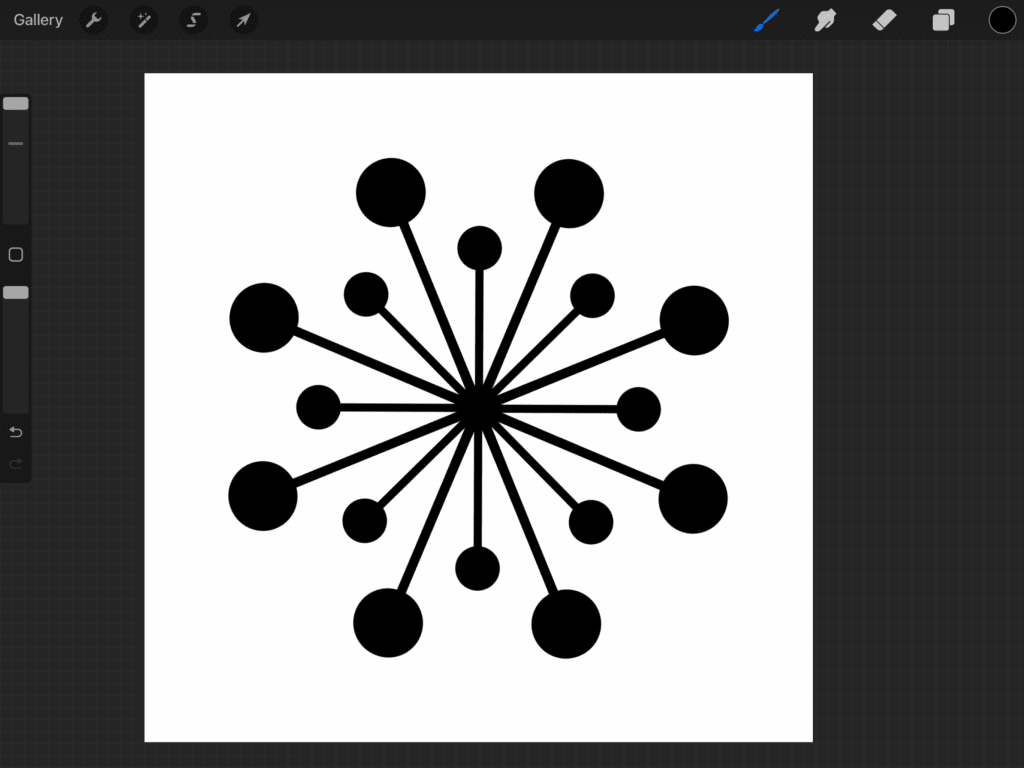
Next, create a square canvas, I usually do 10 or 12 inches at 300 dpi. Now draw a shape! For the basics, stick with black on white and keep your shape fairly centered.
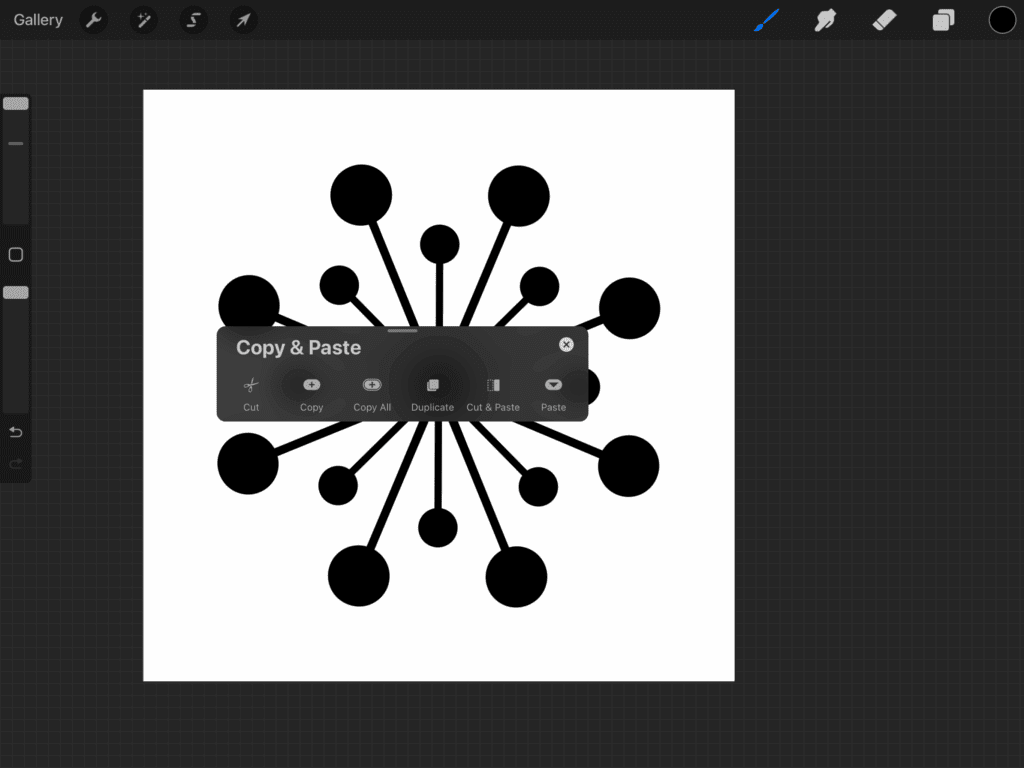
If you have seen the post on pattern brushes, you will be familiar with this, three-finger-swipe down to get to this copy/paste menu and select Copy All.
Tap on the new brush you create and go to Shape. Tap Edit.
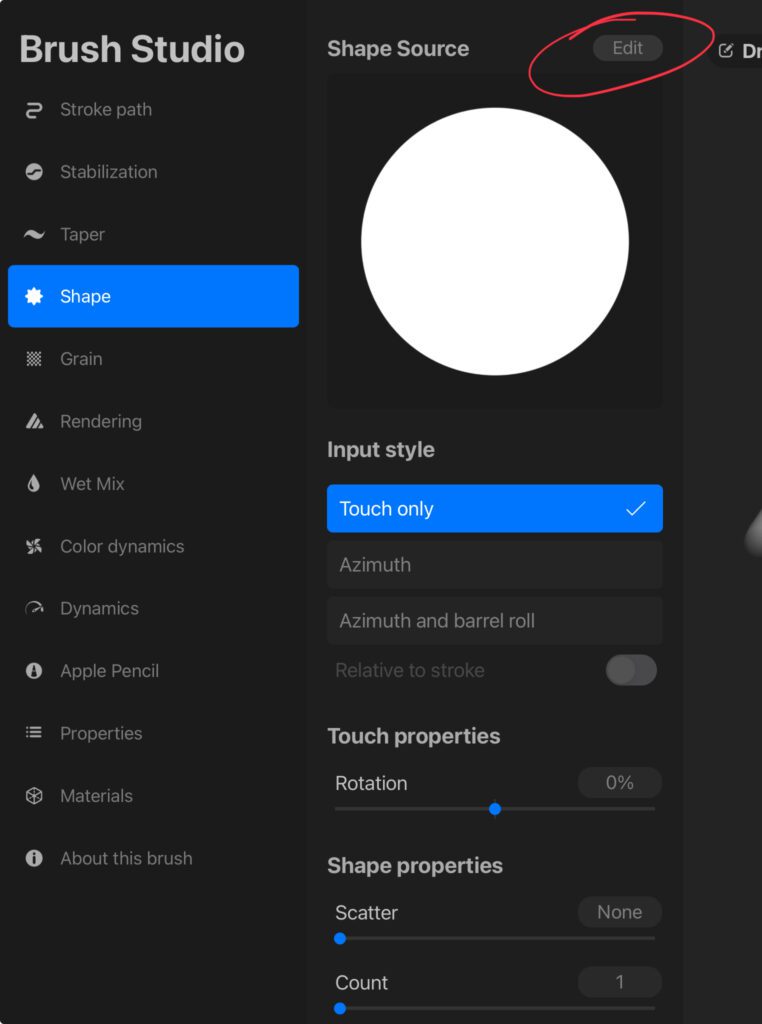
In the Shape Editor, tap Import and you can Paste your shape there since you already copied it! Now you need to tap once to get rid of the little menu, the two-finger tap on the shape to invert the colors so the background is black.
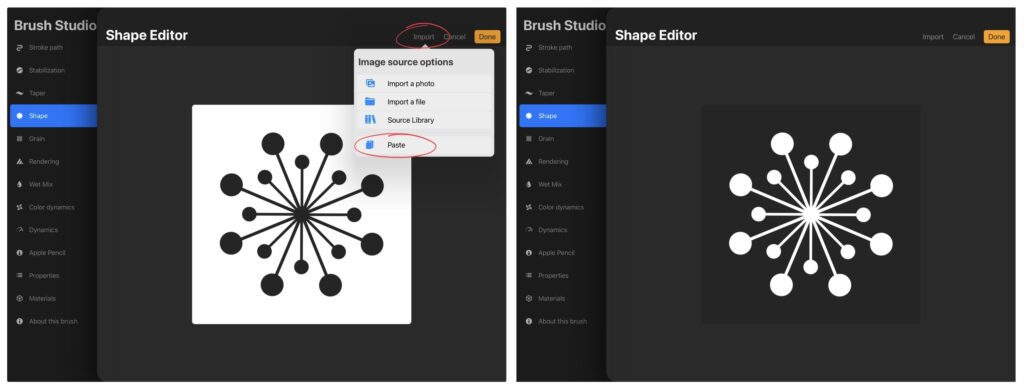
Here are a few more settings you need to adjust in order to make this a stamp brush!
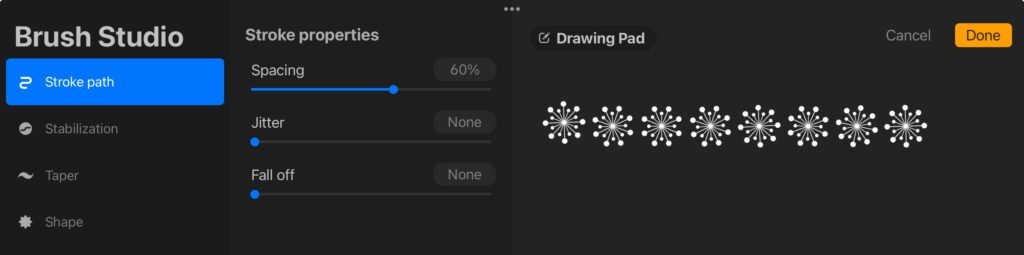
-Go to Stroke Path and increase the Spacing. Even at 60%, you can “stamp” this brush…but you can also make a row of stamps if you want!
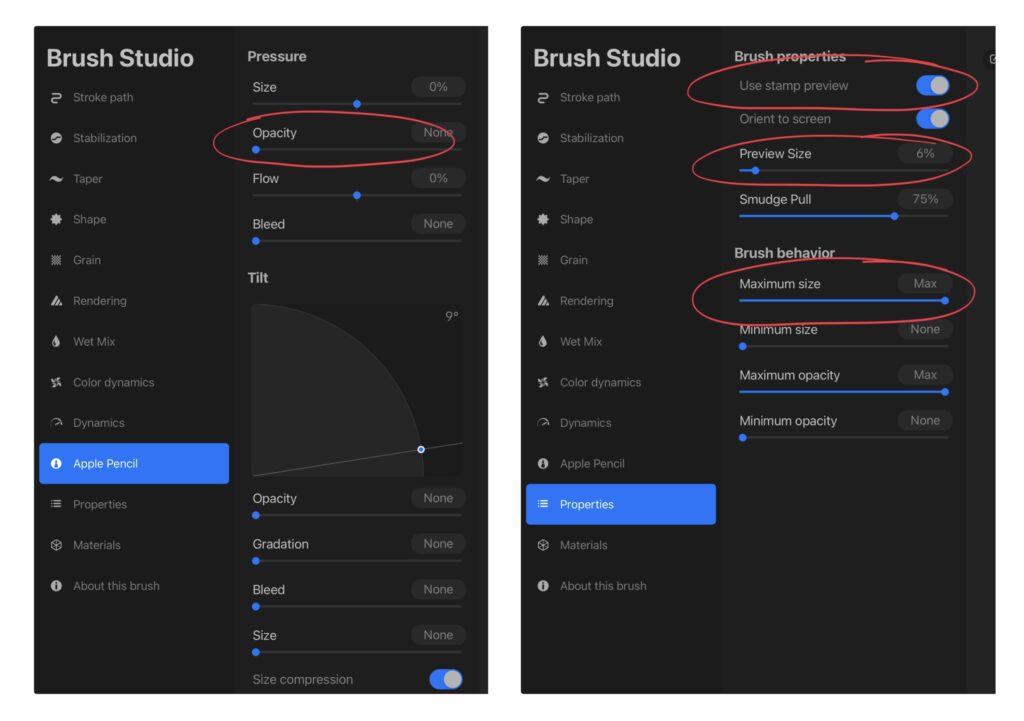
-Go to Apple Pencil and turn Opacity down, this means that it will stamp at full opacity even with zero pressure when you tap the screen.
-Go to Properties to turn on Use Stamp Preview (that means when you see this brush in your brush list, you will only see one stamp shape). You will likely need to decrease the Preview Size and I like to increase the Brush size.
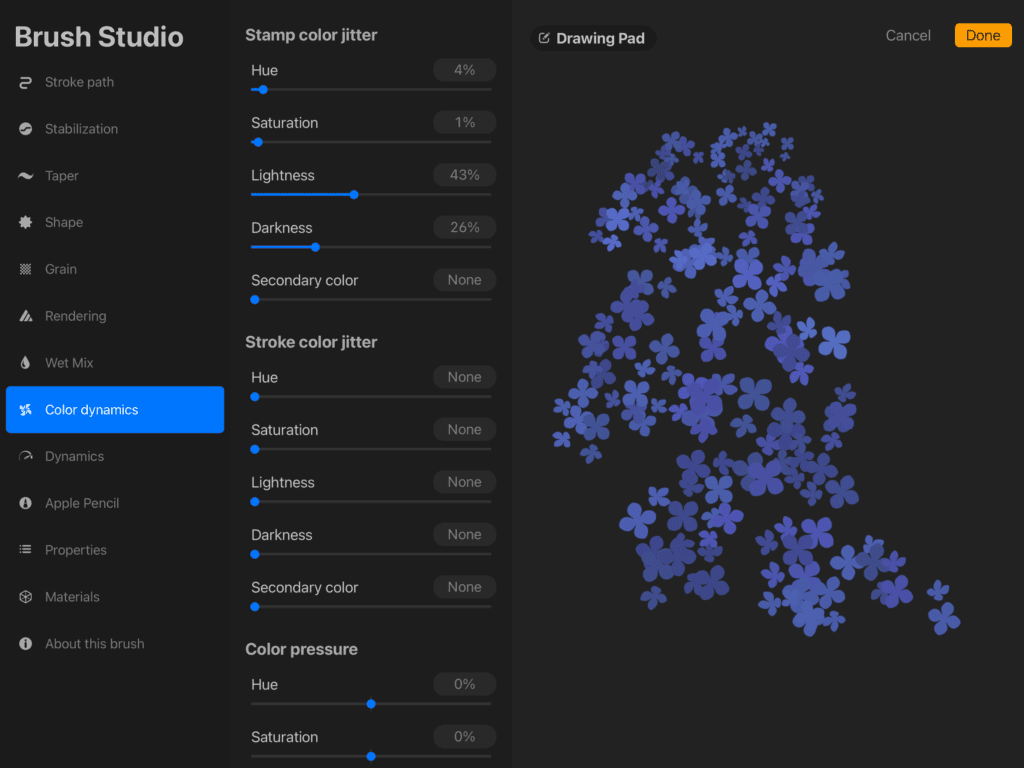
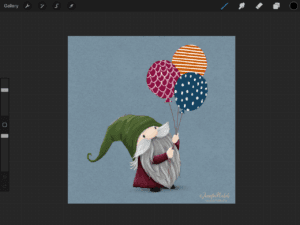
You are done!!! Now you can go test your brush and adjust settings to your liking! Have fun playing with a few more settings like Color Dynamics: adjust the Hue in the Stamp Color Jitter to get the effect you see below! Go back to Stroke Path and increase Jitter to make the stamps go all over the place. Go to Dynamics to adjust the Jitter size so they all stamp down at variable sizes. That is fun sometimes!
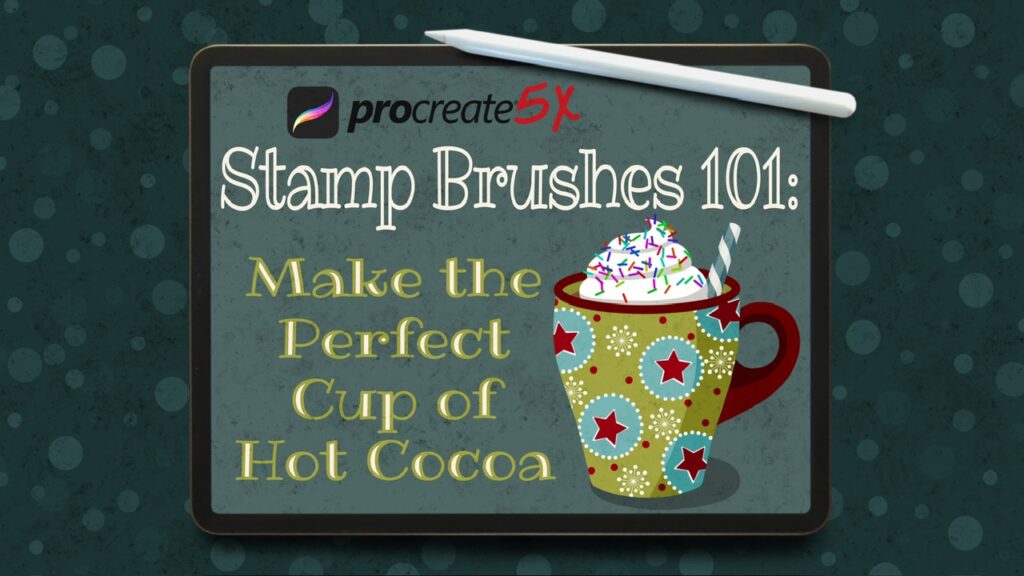
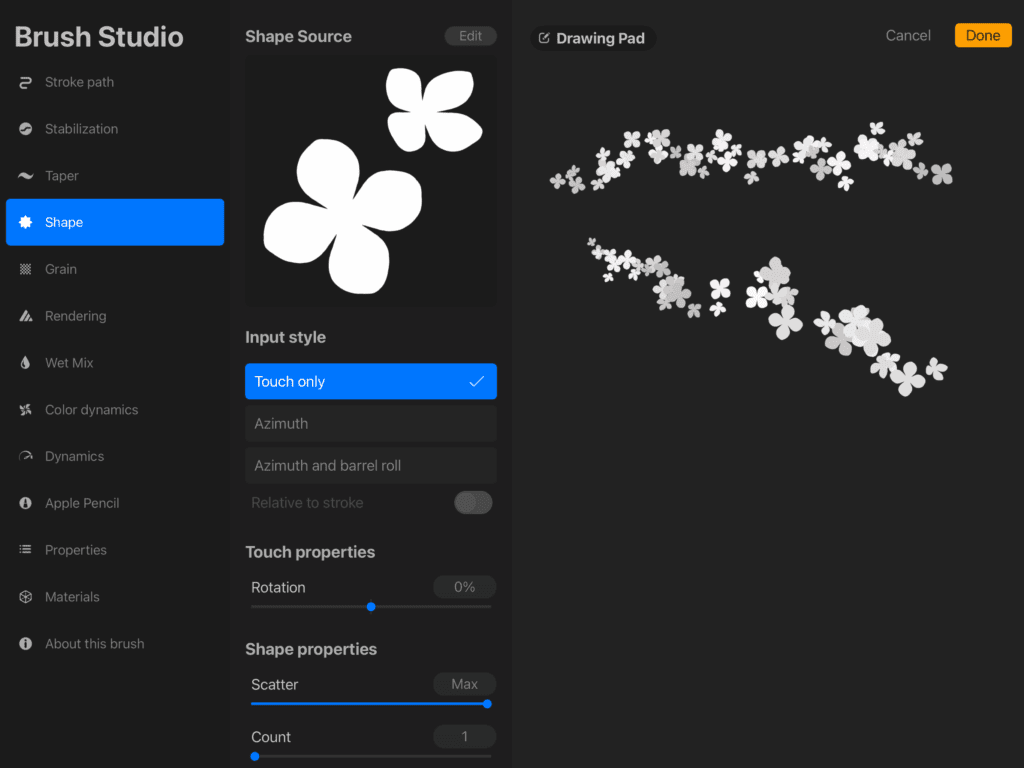
Think about a dot brush with random dot sizes! And go back to Shape, scroll down to Scatter and bump it up so each stamp rotates a bit! and while you are there, increase the Count and see what that does! Go up to the Stamp Brush class image above, see those sprinkles on the whipped cream? Yup! You got it! That is also a stamp brush! Scattered, colorful, jittered, all of these settings open so many possibilities! Keep playing, experimenting, and practicing! When you spend enough time doing this, you will more easily remember what the settings do so you can make brushes more confidently! I have 5 brush-making classes as well, come on over to the membership for more info and more help from me in the private community! I hope you enjoy making your own stamp brushes in Procreate! Enjoy!
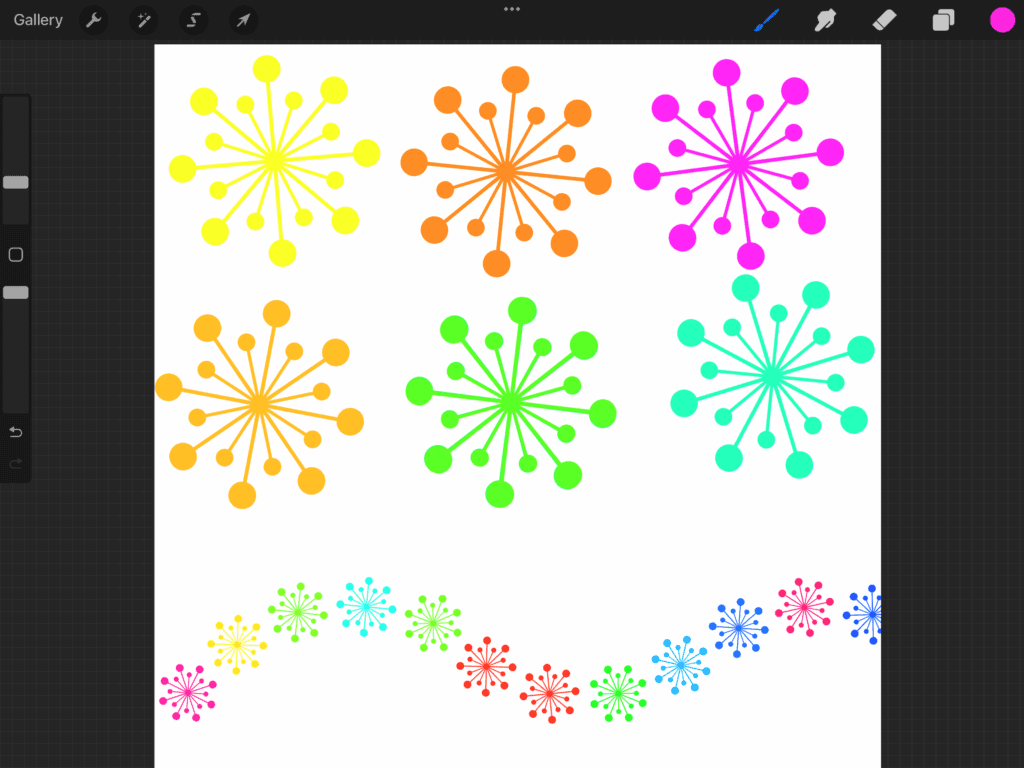
Playing more with color dynamics and jitter!
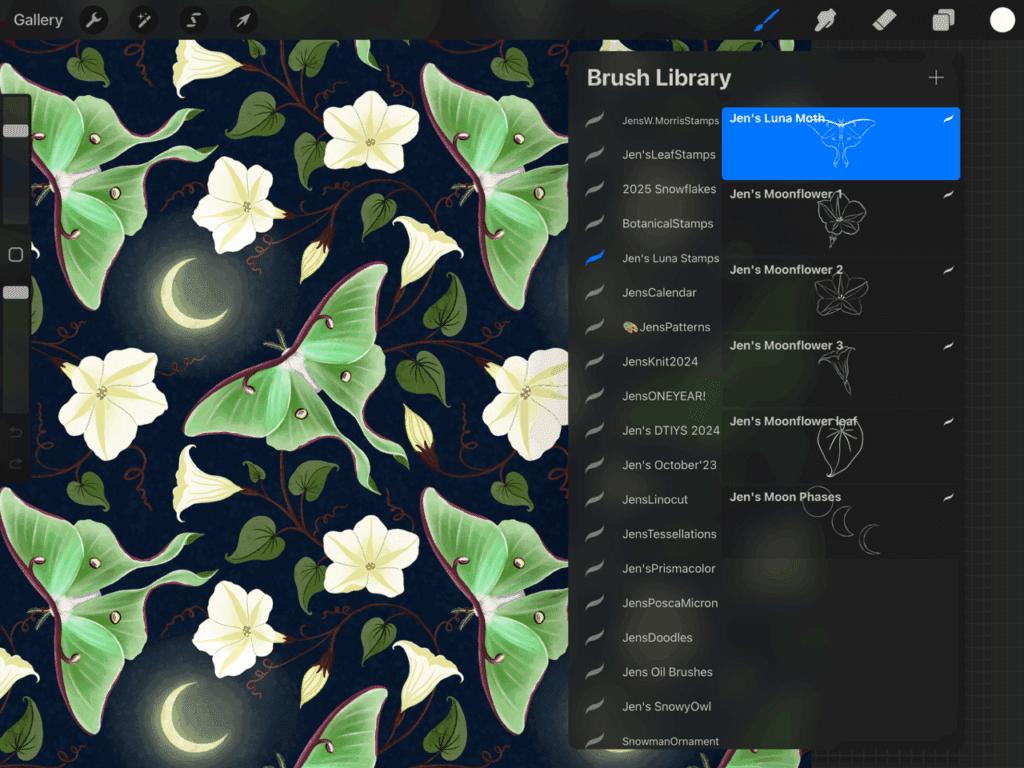
In the second image you can see that the shape is two flowers!
Scroll way back to the 2022 newsletter freebies to grab my mug stamps and the sprinkle stamp brush! You can assemble various mug shapes with different toppings and handles. Then use it as your sketch layer like I explained above!
Here are a couple YouTube lessons of mine for making stamp brushes:


2 thoughts on “Unlocking the Power of Stamp Brushes in Procreate”
I love the lilac stamp! It is fun to play with scatter and color to get just the right effect when drawing the flowers. Thanks for all the tips and tutorials.
Glad to hear it! And you’re welcome!
Comments are closed.